VintaSoft Barcode .NET SDK 16.0: Documentation for Web developer
In This Topic
Recognize barcodes in image in "React.js and ASP.NET Core" application
In This Topic
This tutorial shows how to create a blank "Rect.js and ASP.NET Core" application in Visual Studio .NET 2026 and recognize barcodes in image in "React.js and ASP.NET Core" application.

Here are steps, which must be done:
  1. Create a blank "React.js and ASP.NET Core" application.

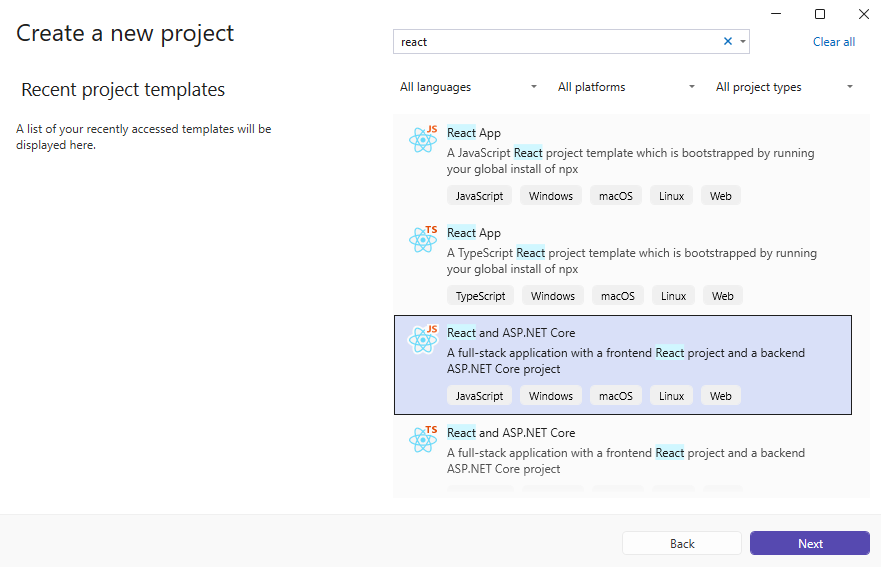
    Open Visual Studio .NET 2026 and create a new project, of "React.js and ASP.NET Core" application type:
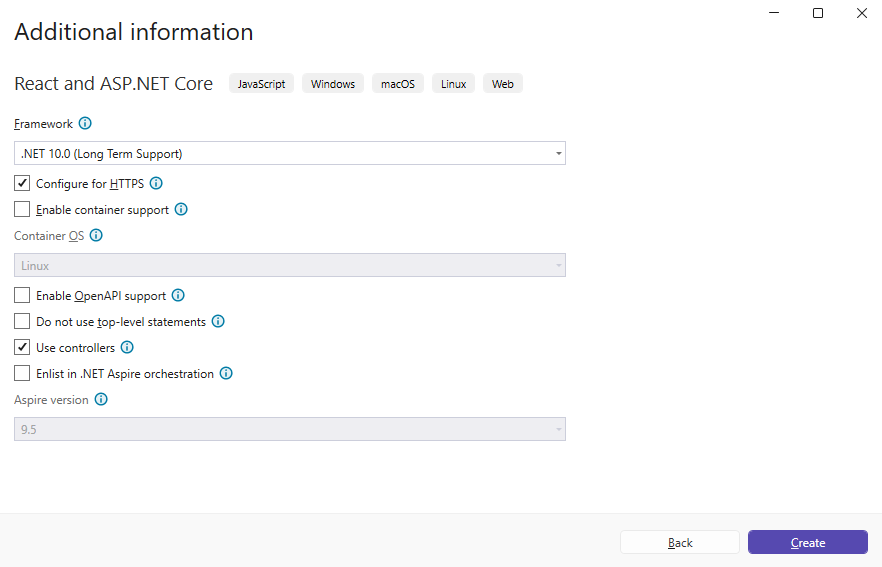
    Configure the project to use .NET 10.0:
  2. "ReactApp1.Server" project: Add references to the Vintasoft nuget-packages to ASP.NET Core Web application.

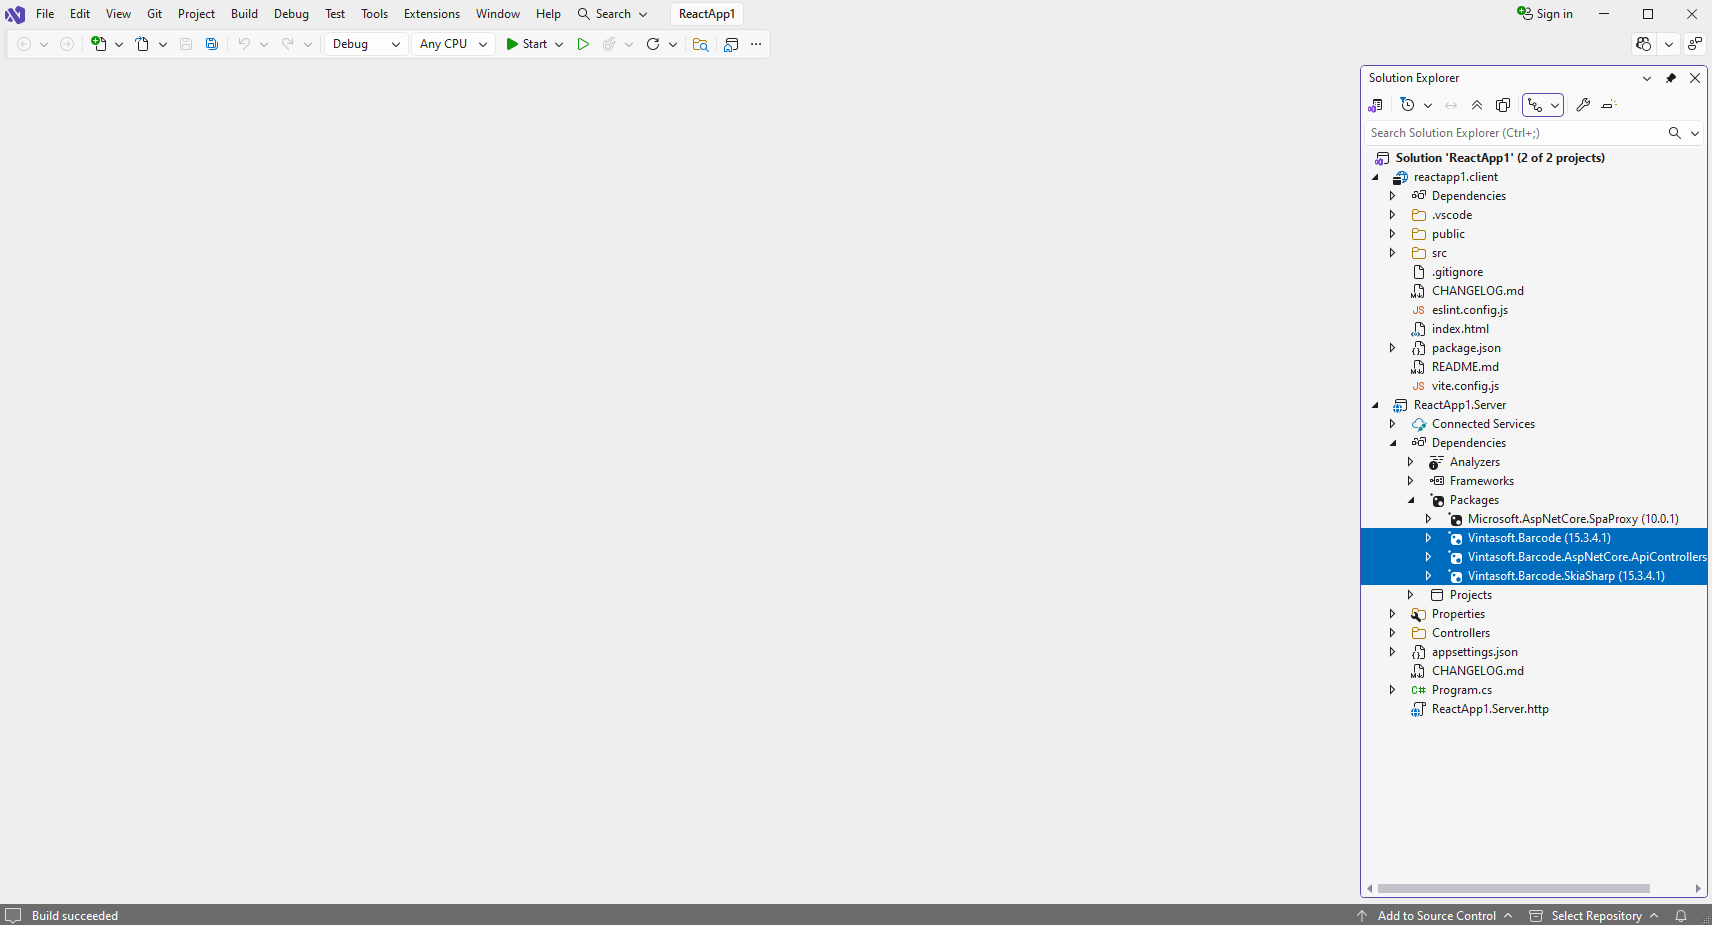
    Add references to the nuget-packages Vintasoft.Barcode, Vintasoft.Barcode.SkiaSharp and Vintasoft.Barcode.AspNetCore.ApiControllers to the "ReactApp1.Server" project.

    If you want to use AI for detection of barcode regions, add reference to the nuget-packages Vintasoft.Barcode.AI.1D, Vintasoft.Barcode.AI.2D, Microsoft.ML.OnnxRuntime v1.23.0, Microsoft.ML.OnnxRuntime.Managed v1.23.0 to the ASP.NET Core project.
  3. "ReactApp1.Server" project: Add Web API controller that allows to recognize barcodes in image.

    • Press the right mouse button on the "Controllers" folder and select the "Add => Controller..." menu from context menu
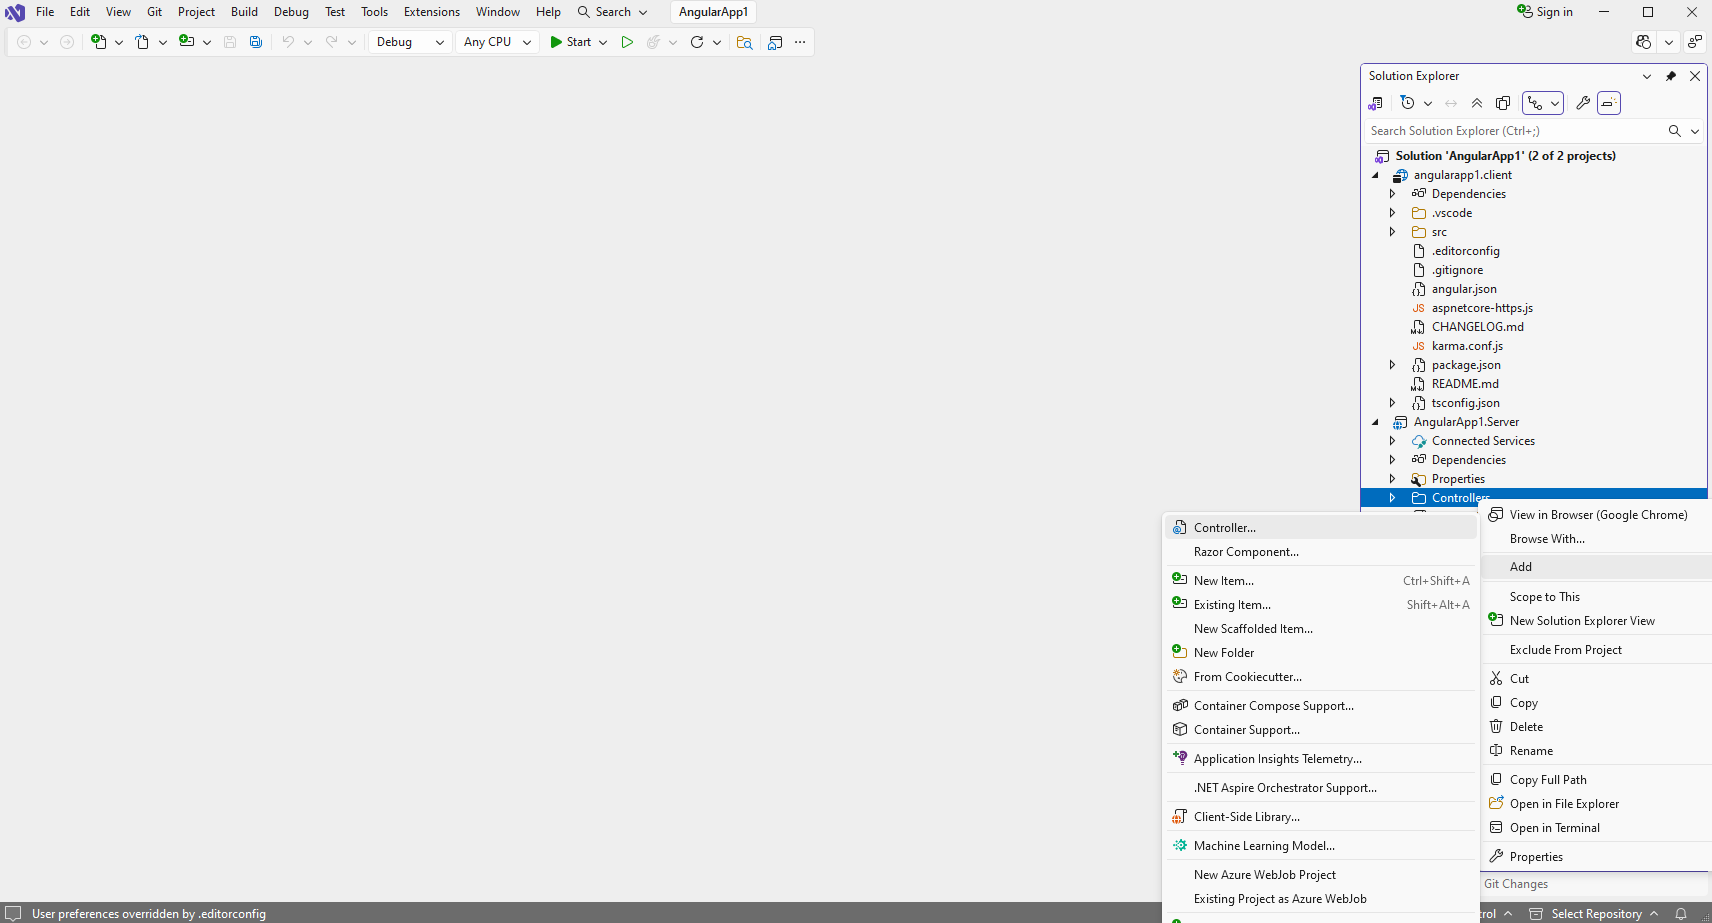
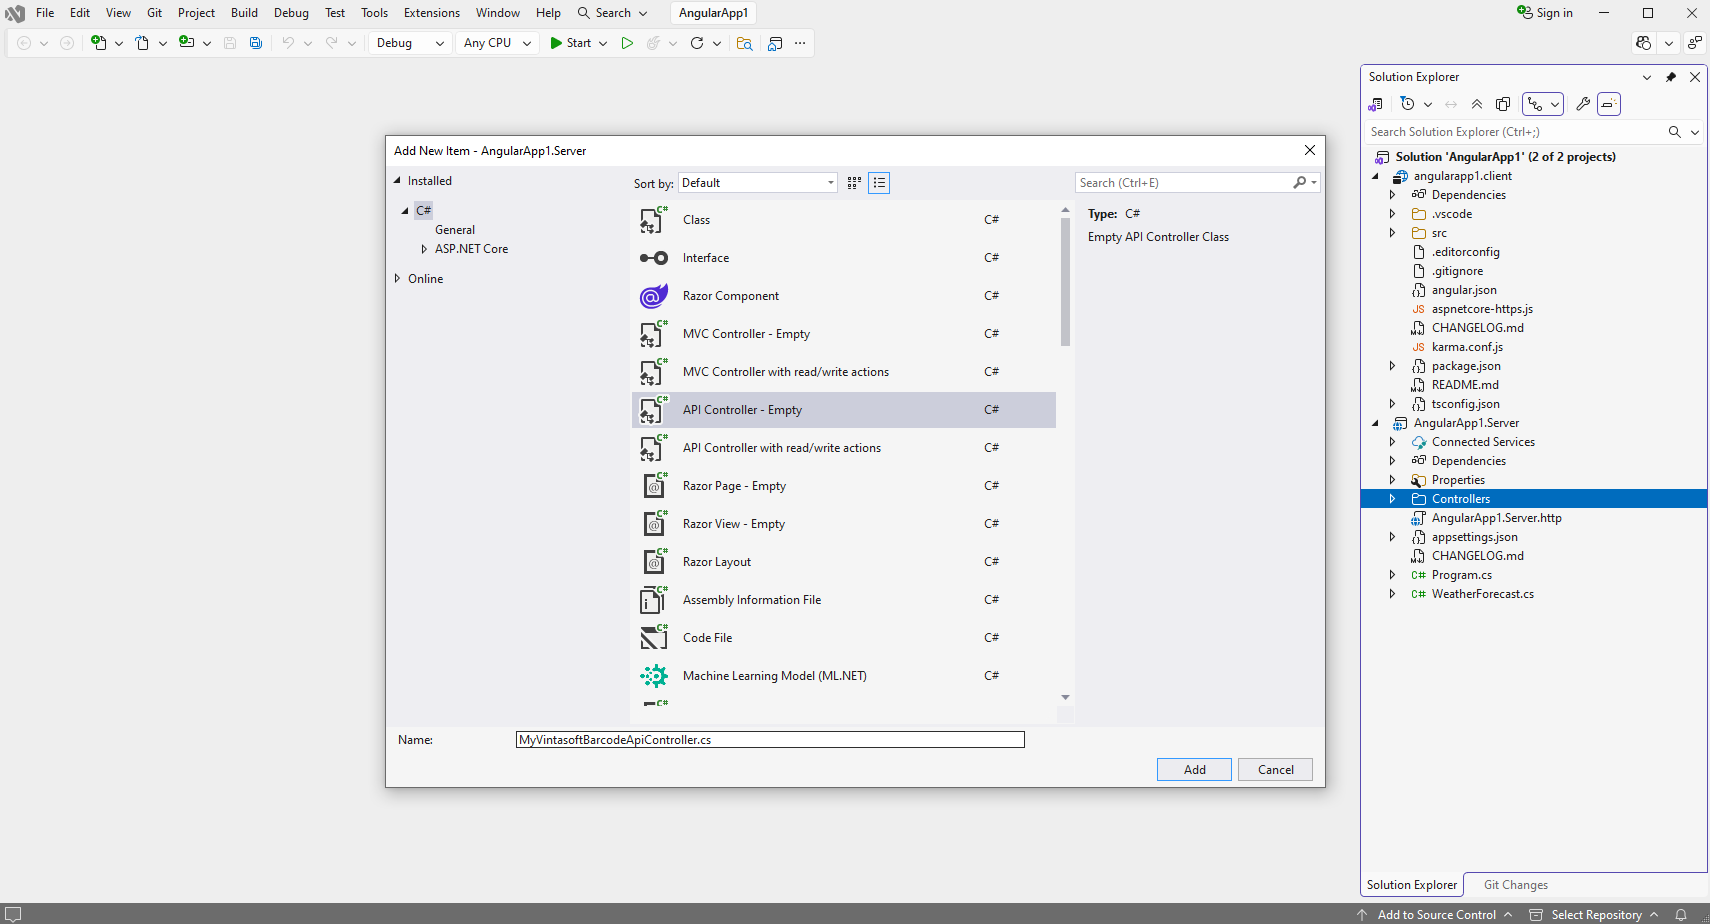
    • Select Empty API controller template, set the controller name to the "MyVintasoftBarcodeApiController" and press the "Add" button
    • Specify that MyVintasoftBarcodeApiController class is derived from Vintasoft.Barcode.AspNetCore.ApiControllers.VintasoftBarcodeApiController class
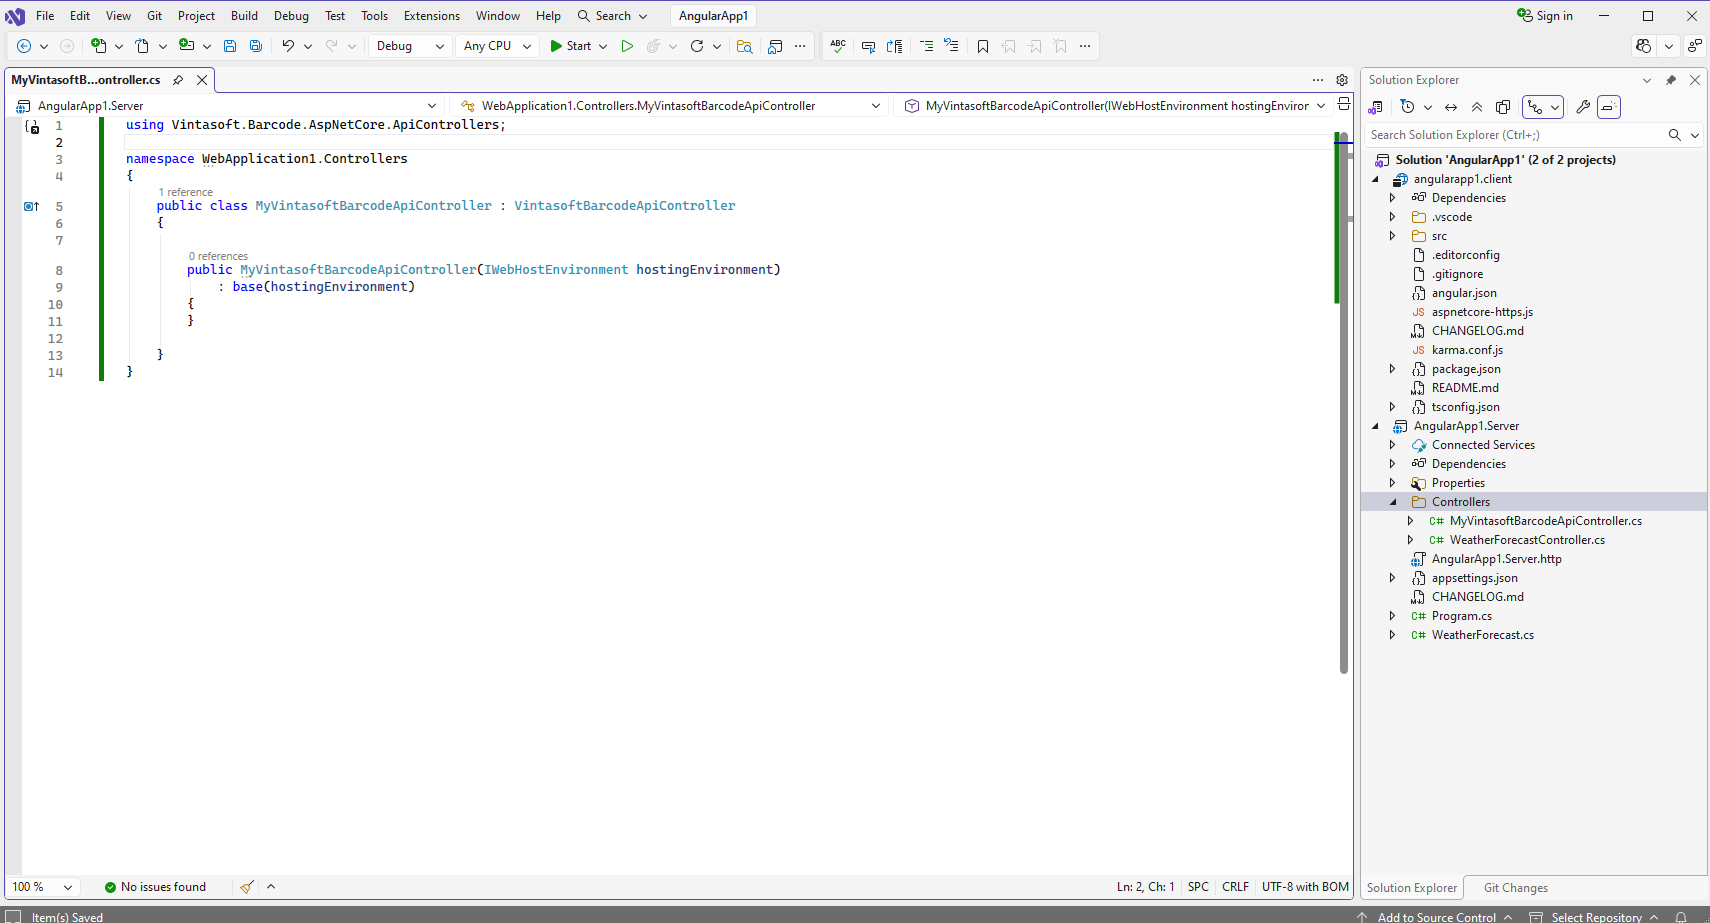
      Here are source codes of MyVintasoftBarcodeApiController class:
      using Vintasoft.Barcode.AspNetCore.ApiControllers;
      
      namespace WebApplication1.Controllers
      {
          public class MyVintasoftBarcodeApiController : VintasoftBarcodeApiController
          {
      
              public MyVintasoftBarcodeApiController(IWebHostEnvironment hostingEnvironment)
                  : base(hostingEnvironment)
              {
              }
      
          }
      }
      
      
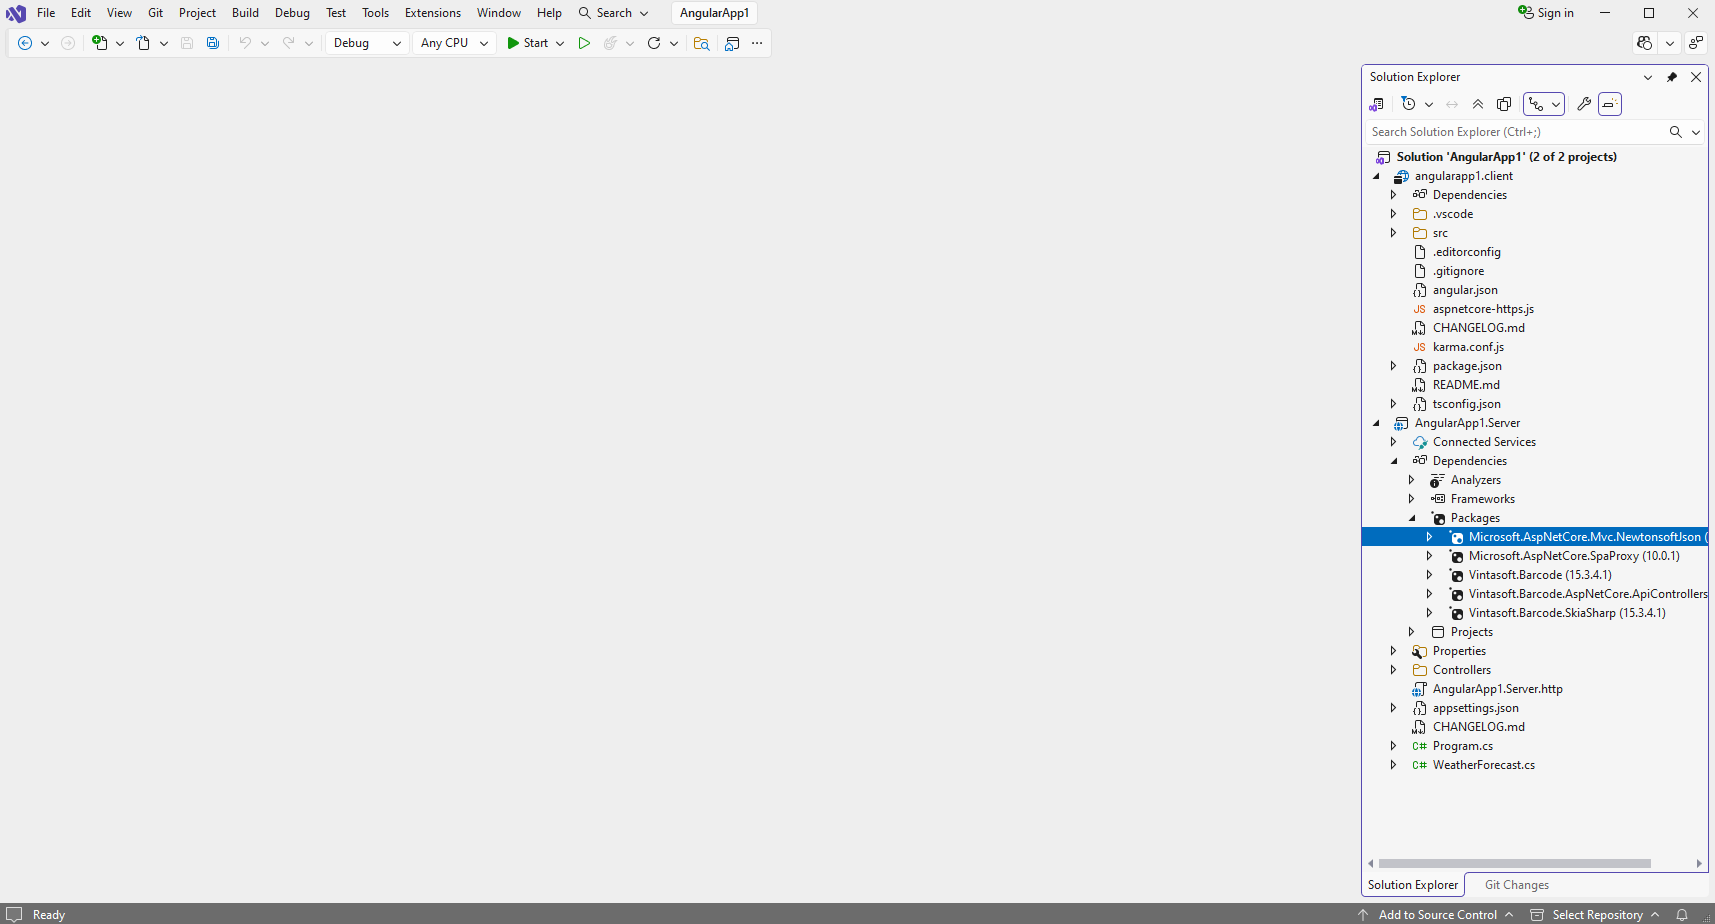
  4. "ReactApp1.Server" project: Add reference to the nuget-package "Microsoft.AspNetCore.Mvc.NewtonsoftJson" for deserialization of barcode recognition results.

    • Add reference to the nuget-package Microsoft.AspNetCore.Mvc.NewtonsoftJson to the "ReactApp1.Server" project:

    • Open the "Program.cs" file and add code line "builder.Services.AddControllersWithViews().AddNewtonsoftJson();". This is necessary for correct deserialization of barcode recognition results.
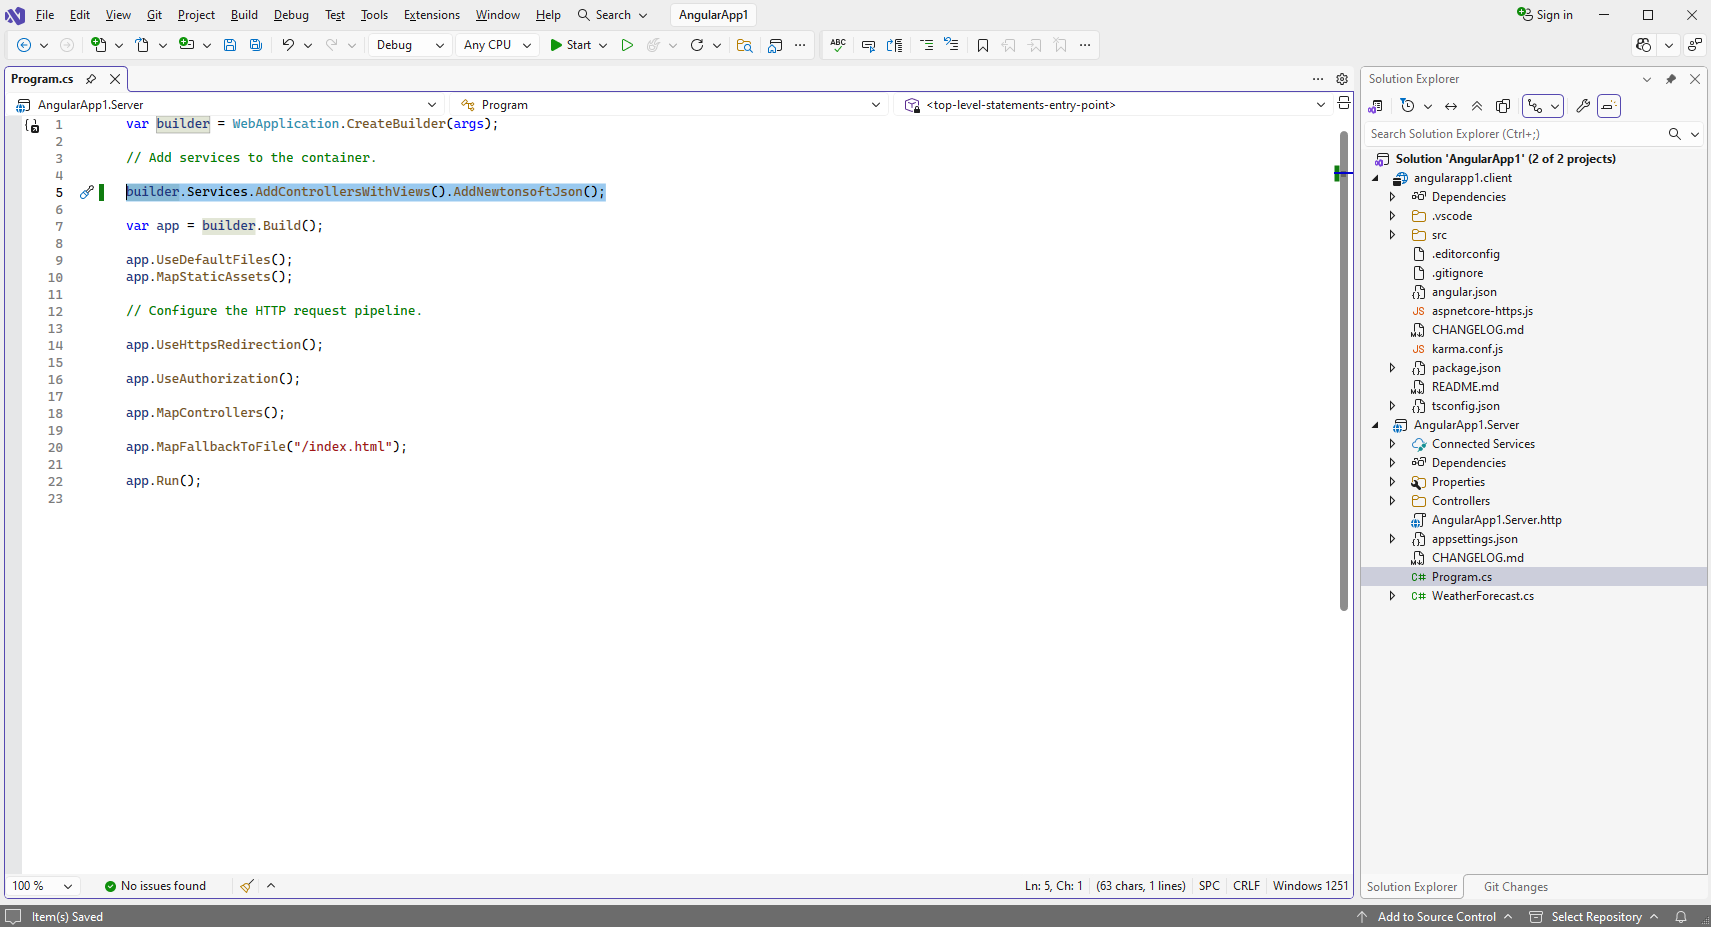
      Here are source codes of Program.cs:
      var builder = WebApplication.CreateBuilder(args);
      
      // Add services to the container.
      
      builder.Services.AddControllers().AddNewtonsoftJson();
      
      var app = builder.Build();
      
      app.UseDefaultFiles();
      app.MapStaticAssets();
      
      // Configure the HTTP request pipeline.
      
      app.UseHttpsRedirection();
      
      app.UseAuthorization();
      
      app.MapControllers();
      
      app.MapFallbackToFile("/index.html");
      
      app.Run();
      
      
  5. "ReactApp1.Server" project: Specify image file that contains barcodes.

    Create folder "wwwroot\UploadedImageFiles\SessionID" in "ReactApp1.Server" project and copy PNG-image file with barcodes from Github to the created folder. We will recognize barcodes in this image.
  6. "ReactApp1.Server" project: Delete files, which are not necessary.

    Delete files "ReactApp1.Server.http", "WeatherForecast.cs" and "Controllers\WeatherForecastController.cs" in "ReactApp1.Server" project - the WeatherForecast Web API controller is not necessary in this demo.
  7. "reactapp1.client" project: Compile the solution for restoring TypeScript-dependencies in "reactapp1.client" project.

  8. "reactapp1.client" project: Add JavaScript files to the ASP.NET Core Web application.

    • Copy JavaScript-file "Vintasoft.Shared.js" from Github into the "public" folder in "reactapp1.client" project.
      Copy JavaScript-file "Vintasoft.Barcode.js" from Github into the "public" folder in "reactapp1.client" project.
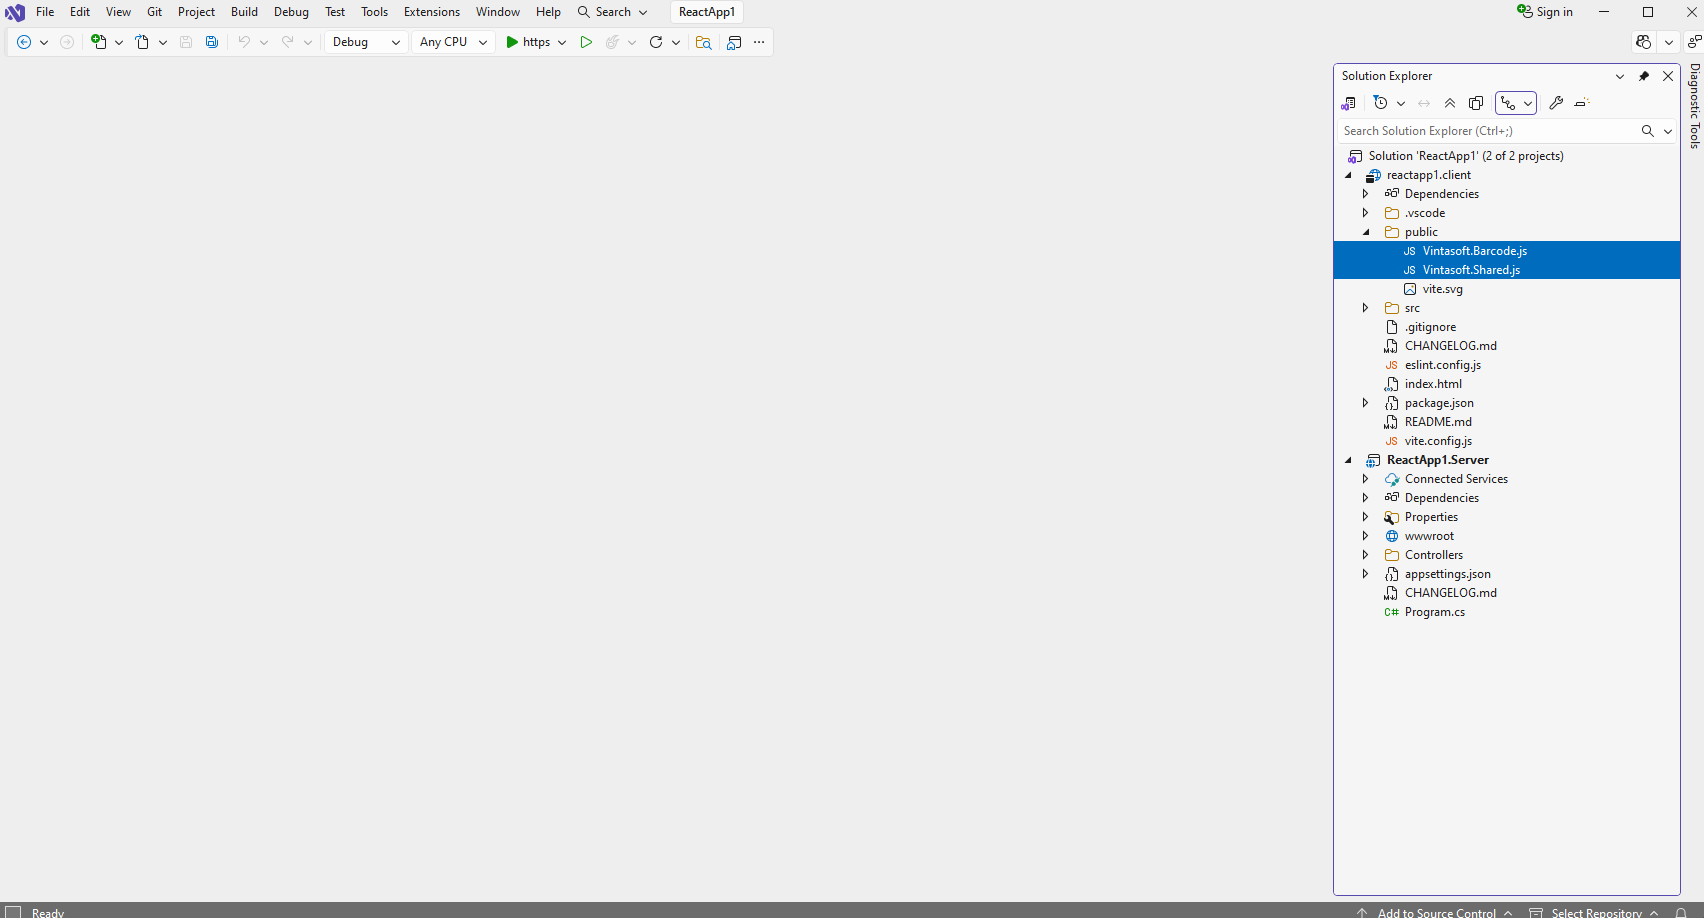
    • Add references to Vintasoft JavaScript files to the header of "index.html" file in "reactapp1.client" project:
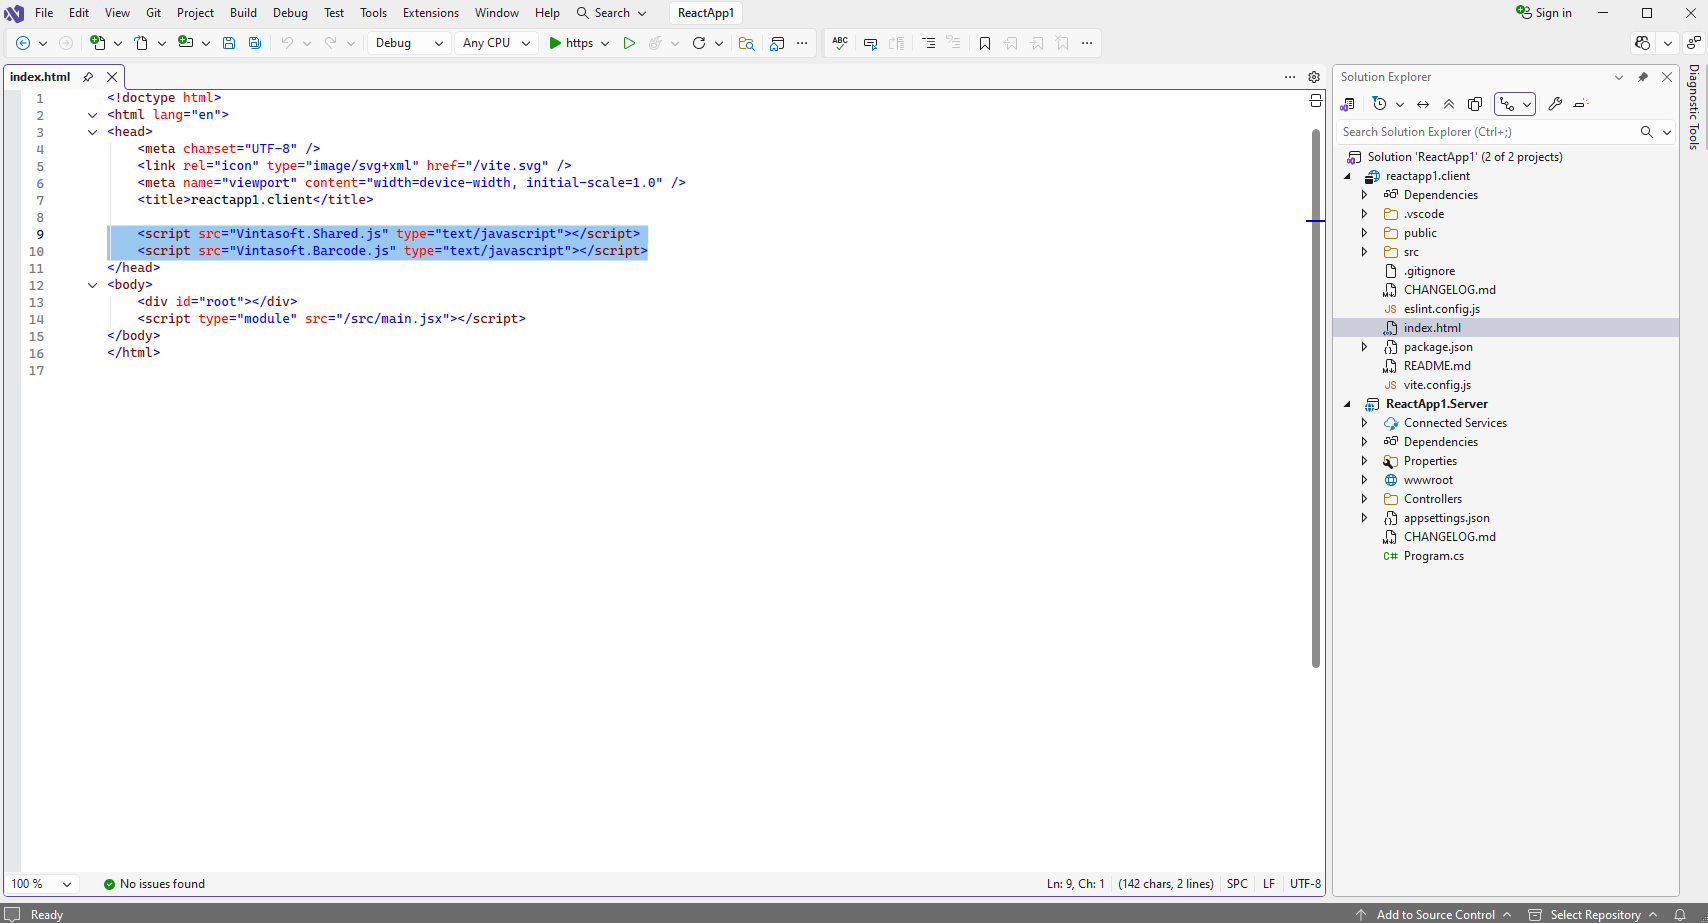
      <!doctype html>
      <html lang="en">
      <head>
          <meta charset="UTF-8" />
          <link rel="icon" type="image/svg+xml" href="/vite.svg" />
          <meta name="viewport" content="width=device-width, initial-scale=1.0" />
          <title>reactapp1.client</title>
      
          <script src="Vintasoft.Shared.js" type="text/javascript"></script>
          <script src="Vintasoft.Barcode.js" type="text/javascript"></script>
      </head>
      <body>
          <div id="root"></div>
          <script type="module" src="/src/main.jsx"></script>
      </body>
      </html>


  9. "reactapp1.client" project: Create React.js component that recognize barcodes in image and displays barcode recognition result.

    • Open "src\App.jsx" file in "reactapp1.client" project, clear the file, add JavaScript code to the "App.jsx" file ("App" function generates page markup and starts the barcode recognition, "__recognizeBarcodes" function recognizes barcodes in image):
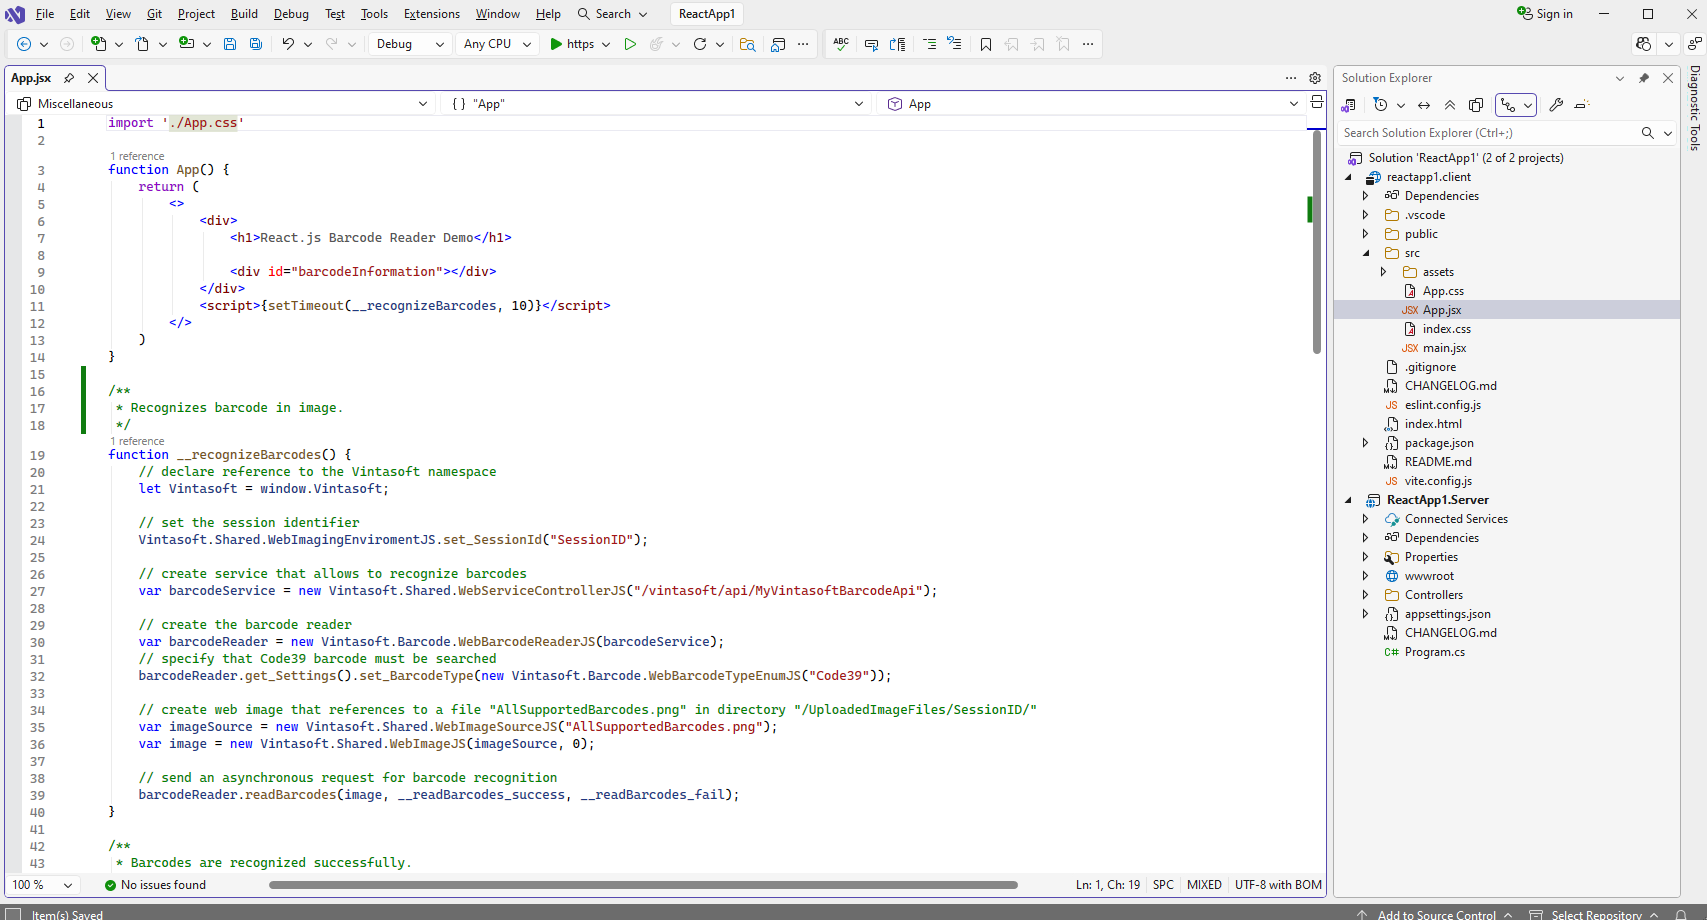

      Here is JavaScript code of App.jsx file:
      import './App.css'
      
      function App() {
          return (
              <>
                  <div>
                      <h1>React.js Barcode Reader Demo</h1>
      
                      <div id="barcodeInformation"></div>
                  </div>
                  <script>{setTimeout(__recognizeBarcodes, 10)}</script>
              </>
          )
      }
      
      /**
       * Recognizes barcode in image.
       */
      function __recognizeBarcodes() {
          // declare reference to the Vintasoft namespace
          let Vintasoft = window.Vintasoft;
      
          // set the session identifier
          Vintasoft.Shared.WebImagingEnviromentJS.set_SessionId("SessionID");
      
          // create service that allows to recognize barcodes
          var barcodeService = new Vintasoft.Shared.WebServiceControllerJS("/vintasoft/api/MyVintasoftBarcodeApi");
      
          // create the barcode reader
          var barcodeReader = new Vintasoft.Barcode.WebBarcodeReaderJS(barcodeService);
          // specify that Code39 barcode must be searched
          barcodeReader.get_Settings().set_BarcodeType(new Vintasoft.Barcode.WebBarcodeTypeEnumJS("Code39"));
      
          // create web image that references to a file "AllSupportedBarcodes.png" in directory "/UploadedImageFiles/SessionID/"
          var imageSource = new Vintasoft.Shared.WebImageSourceJS("AllSupportedBarcodes.png");
          var image = new Vintasoft.Shared.WebImageJS(imageSource, 0);
      
          // send an asynchronous request for barcode recognition
          barcodeReader.readBarcodes(image, __readBarcodes_success, __readBarcodes_fail);
      }
      
      /**
       * Barcodes are recognized successfully.
       */
      function __readBarcodes_success(data) {
          if (data.success) {
              // get the barcode recognition result
              var barcodeRecognitionResults = data.results;
      
              var htmlMarkup = '';
              // if no barcodes found
              if (barcodeRecognitionResults.length == 0) {
                  htmlMarkup = 'No barcodes found.';
              }
              // if barcodes are found
              else {
                  htmlMarkup = barcodeRecognitionResults.length.toString() + ' barcodes are found.<br />';
                  htmlMarkup += '<br />';
      
                  // for each recognized barcode
                  for (var i = 0; i < barcodeRecognitionResults.length; i++) {
                      // get the barcode recognition result
                      var barcodeRecognitionResult = barcodeRecognitionResults[i];
      
                      // output information about recognized barcode
                      htmlMarkup += '[' + (i + 1) + ':' + barcodeRecognitionResult.barcodeType + ']<br />';
                      htmlMarkup += '  Value: ' + barcodeRecognitionResult.value + '<br />';
                      htmlMarkup += '  Confidence: ' + barcodeRecognitionResult.confidence + '<br />';
                      htmlMarkup += '  Reading quality: ' + barcodeRecognitionResult.readingQuality.toFixed(2) + '<br />';
                      htmlMarkup += '  Threshold: ' + barcodeRecognitionResult.threshold + '<br />';
                      htmlMarkup += '  Region: ' +
                          'LT=(' + barcodeRecognitionResult.region.leftTop.x + ',' + barcodeRecognitionResult.region.leftTop.y + '); ' +
                          'RT=(' + barcodeRecognitionResult.region.rightTop.x + ',' + barcodeRecognitionResult.region.rightTop.y + '); ' +
                          'LB=(' + barcodeRecognitionResult.region.leftBottom.x + ',' + barcodeRecognitionResult.region.leftBottom.y + '); ' +
                          'RB=(' + barcodeRecognitionResult.region.rightBottom.x + ',' + barcodeRecognitionResult.region.rightBottom.y + '); ' +
                          'Angle=' + barcodeRecognitionResult.region.angle.toFixed(1) + '°<br />';
      
                      htmlMarkup += '<br />';
                  }
              }
      
              var barcodeInformationElement = document.getElementById("barcodeInformation");
              barcodeInformationElement.innerHTML = htmlMarkup;
          }
      }
      
      /**
       * Barcode recognition is failed.
       */
      function __readBarcodes_fail(data) {
          // show information about error
          alert(data.errorMessage);
      }
      
      export default App


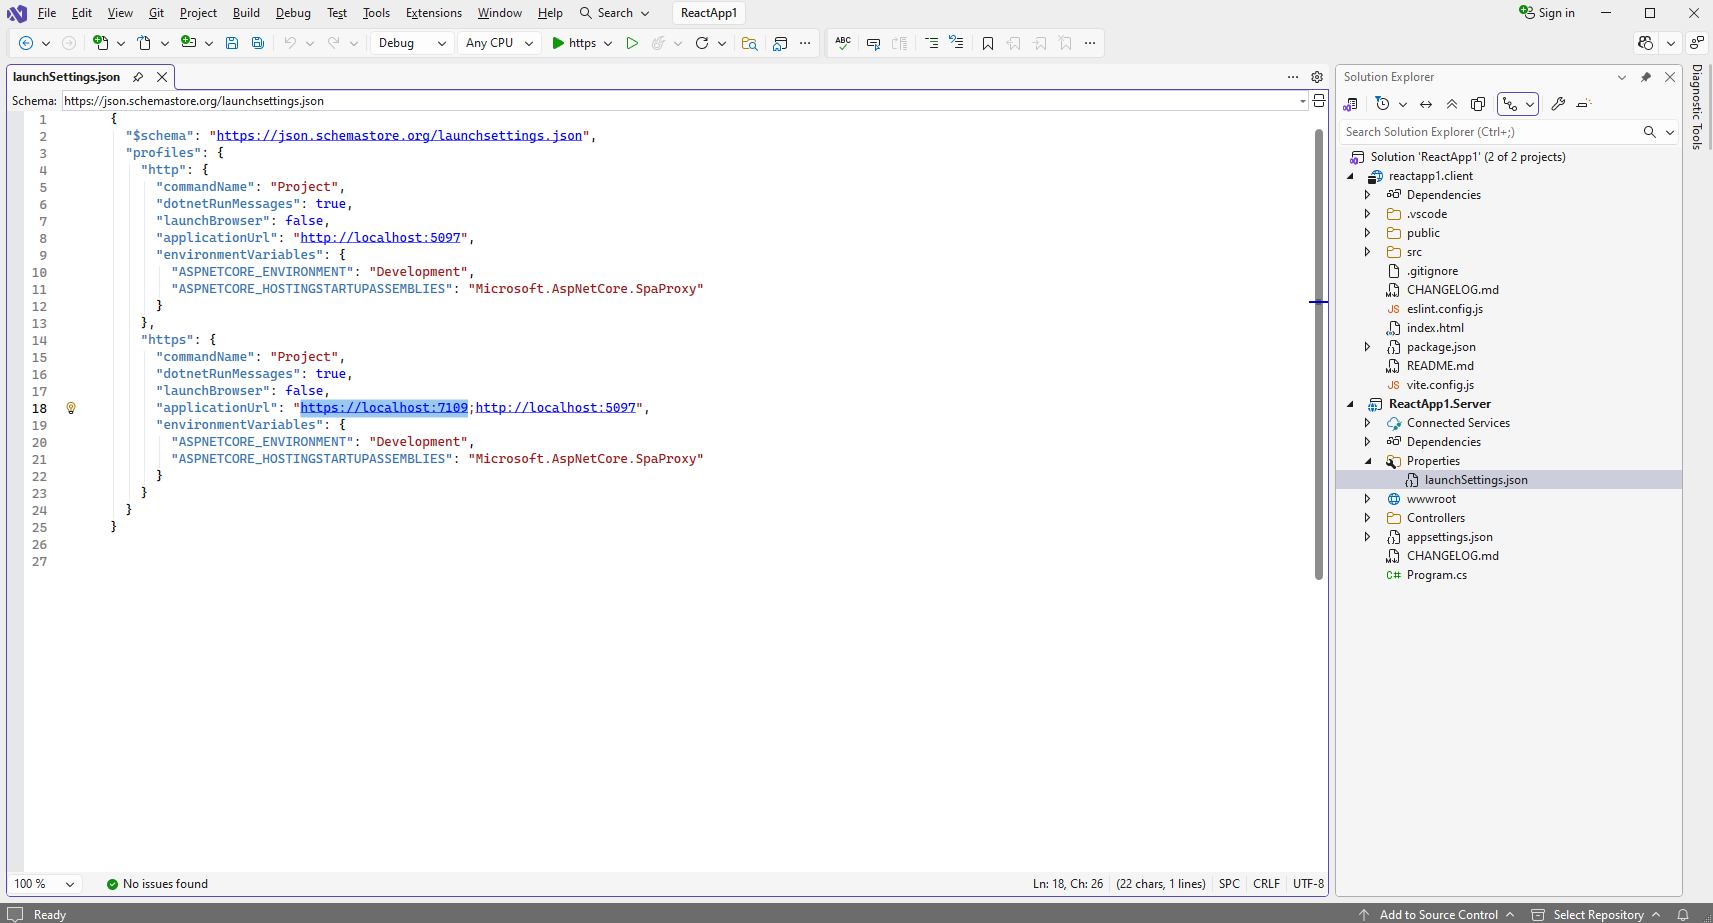
    • Open "Properties\launchSettings.json" file in "ReactApp1.Server" project and get URL to the web service in "applicationUrl" parameter of "profiles\https" section - in this demo URL is "https://localhost:7109":

      Open "vite.config.js" file in "reactapp1.client" project and specify that React.js aplication can have access to the web service in "ReactApp1.Server" project (add "server" section in the "defineConfig" object):
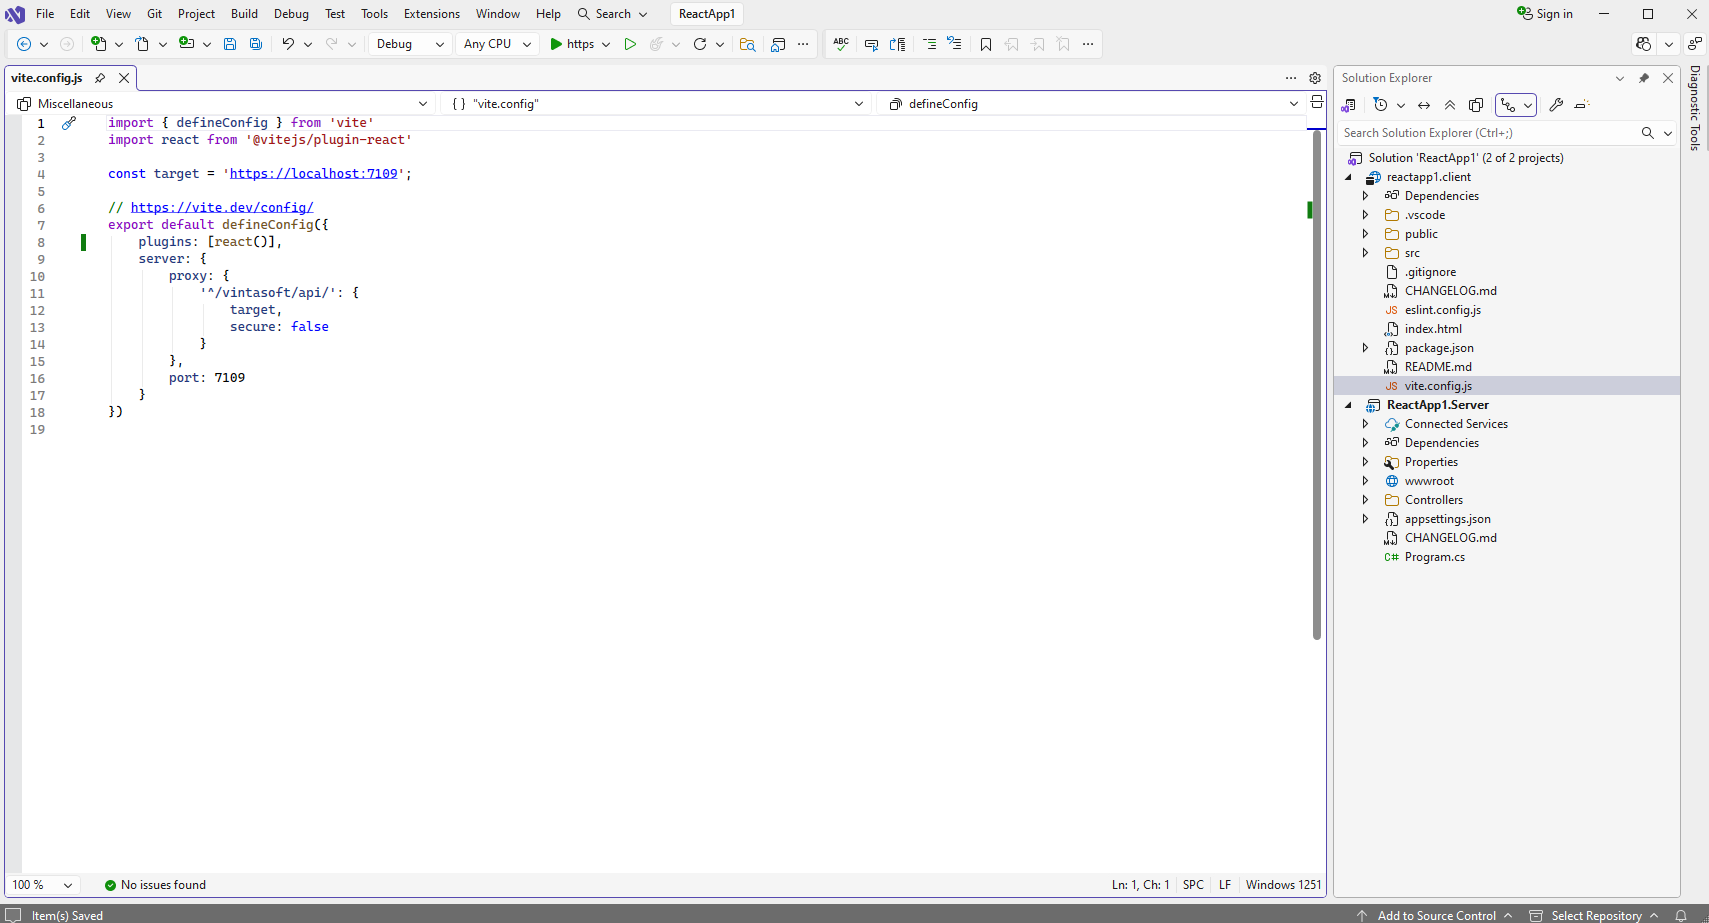
      import { defineConfig } from 'vite'
      import react from '@vitejs/plugin-react'
      
      const target = 'https://localhost:7109';
      
      // https://vite.dev/config/
      export default defineConfig({
          plugins: [react()],
          server: {
              proxy: {
                  '^/vintasoft/api/': {
                      target,
                      secure: false
                  }
              },
              port: 7109
          }
      })


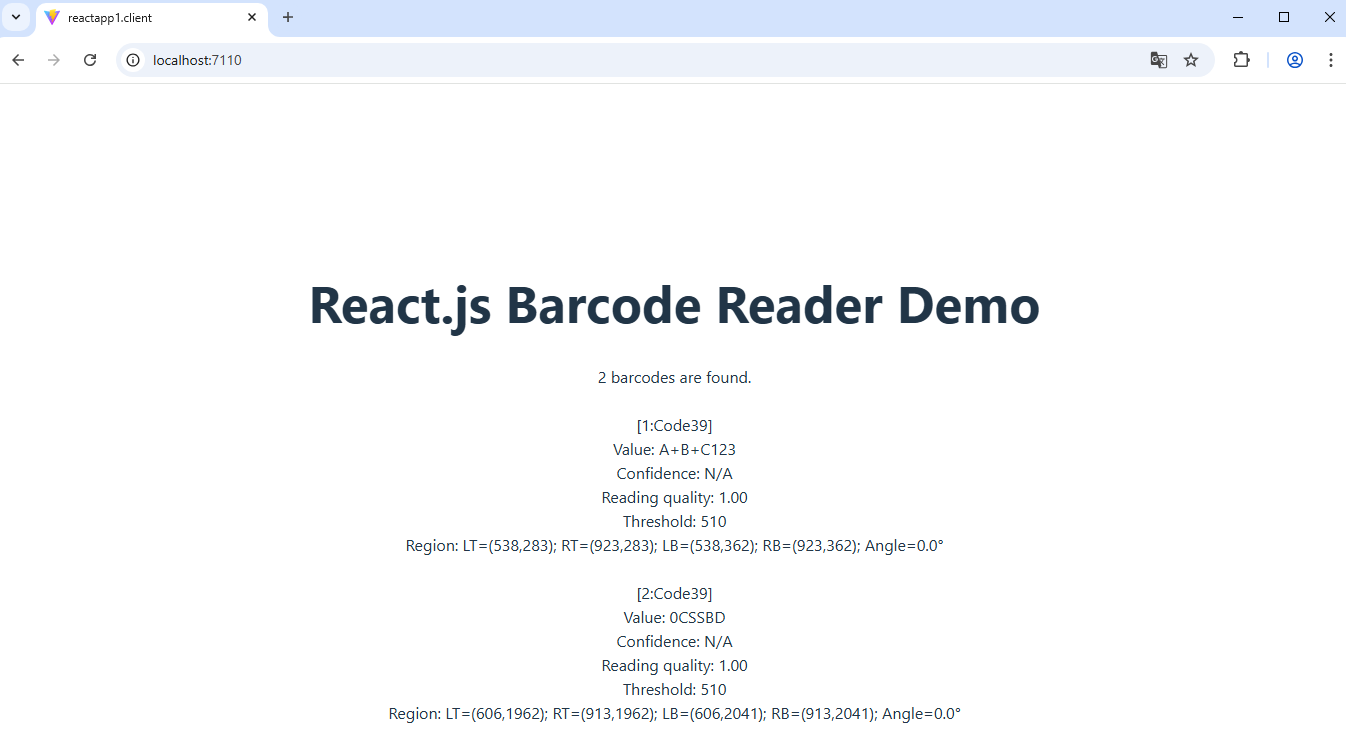
  10. Run the "React.js with ASP.NET Core" application and see the result.