Acquire images from TWAIN scanner in ASP.NET Core application with React.js
In This Topic
This tutorial shows how to create a blank ASP.NET Core Web application in Visual Studio .NET 2022 and acquire images from TWAIN scanner in ASP.NET Core application with React.js.
Here are steps, which must be done:
-
Create a blank ASP.NET Core Web application.
Open Visual Studio .NET 2022 and create a new project of ASP.NET Core Web application type:
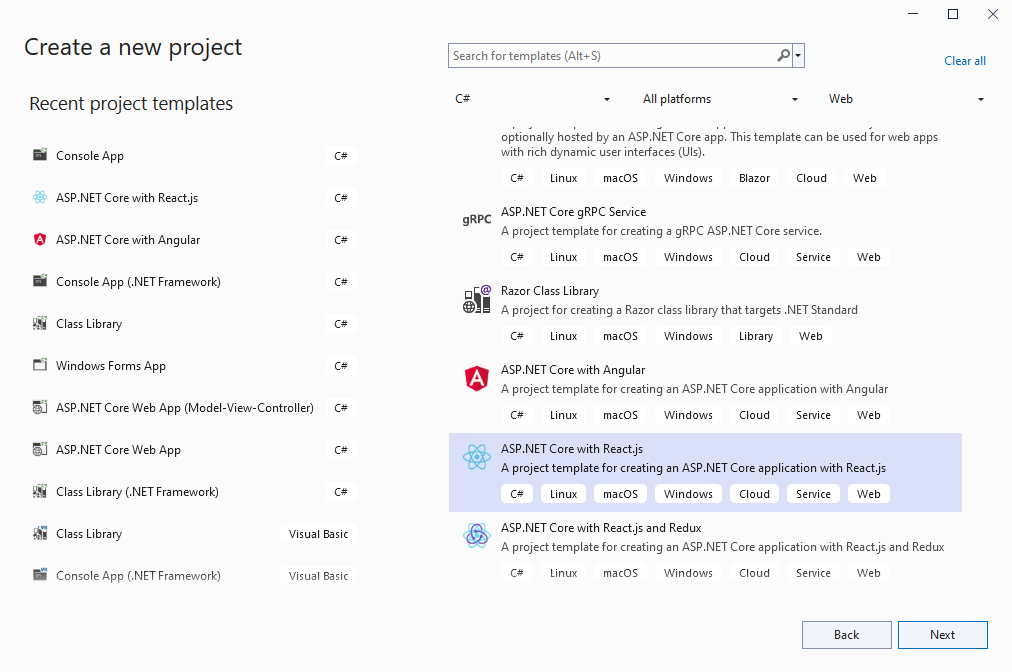
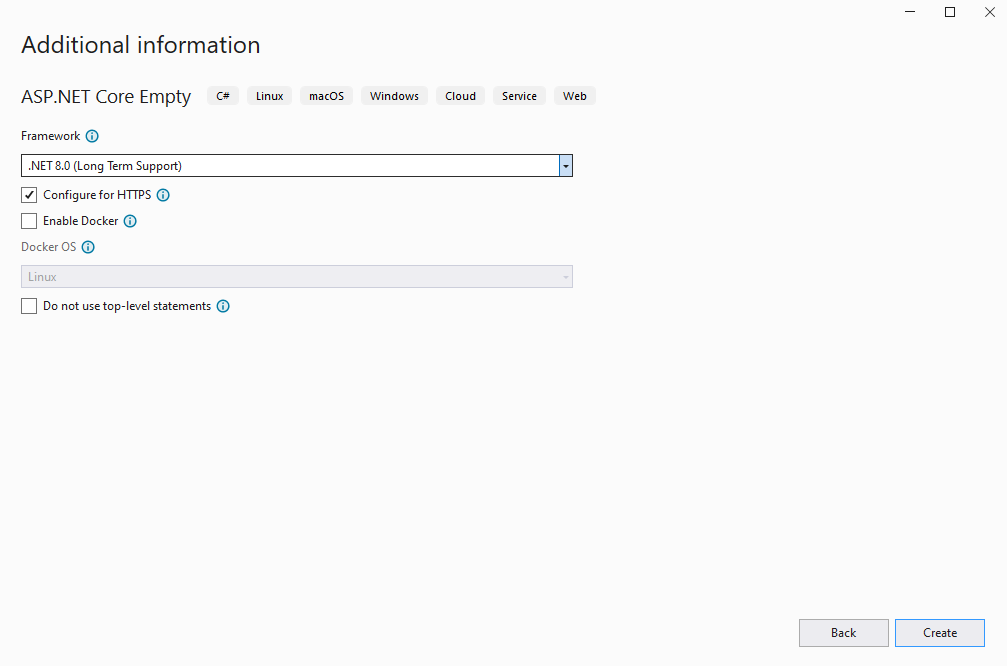
Select the "React.js" template for ASP.NET Core Web application and configure the project to use ASP.NET Core 8.0:
Compile the project for restoring dependencies using 'npm'.
-
Client side: Delete files, which are not necessary in this demo.
-
Delete files "ClientApp\src\components\Counter.js", "ClientApp\src\components\FetchData.js", "ClientApp\src\components\Home.js", "ClientApp\src\components\NavMenu.js", "ClientApp\src\components\NavMenu.css" - these React components are not necessary in this demo.
-
Delete files "WeatherForecast.cs" and "Controllers\WeatherForecastController.cs" - the WeatherForecast Web API controller is not necessary in this demo.
-
Open the file "ClientApp\src\components\Layout.js" and delete lines "import { NavMenu } from './NavMenu';" and "<NavMenu />" - this demo does not need navigation menu.
-
Open the file "ClientApp\src\AppRoutes.js" and delete the code that uses the following React components: Home, FetchData, Counter - these React components are not necessary in this demo.
Here are source codes of "AppRoutes.js" file after update:
import * as React from 'react';
import { Route } from 'react-router';
import Layout from './components/Layout';

import './custom.css'

export default () => (
    <Layout>
    </Layout>
);
-
Client side: Add the installer of VintaSoft Web TWAIN service to ASP.NET Core Web application.
- Add "Data" folder inside "ClientApp\public\" folder.
-
Download the ZIP-archive with Windows installer of VintaSoft Web TWAIN service from URL https://www.vintasoft.com/zip/VintasoftWebTwainService-15.1.3.zip and copy the ZIP-archive to the folder "ClientApp\public\Data\".
VintaSoft Web TWAIN service is Windows service that provides Web API for accessing local TWAIN scanners for all users of local computer. More info about VintaSoft Web TWAIN service can be found here.
-
Client side: Add JavaScript files to the ASP.NET Core Web application.
-
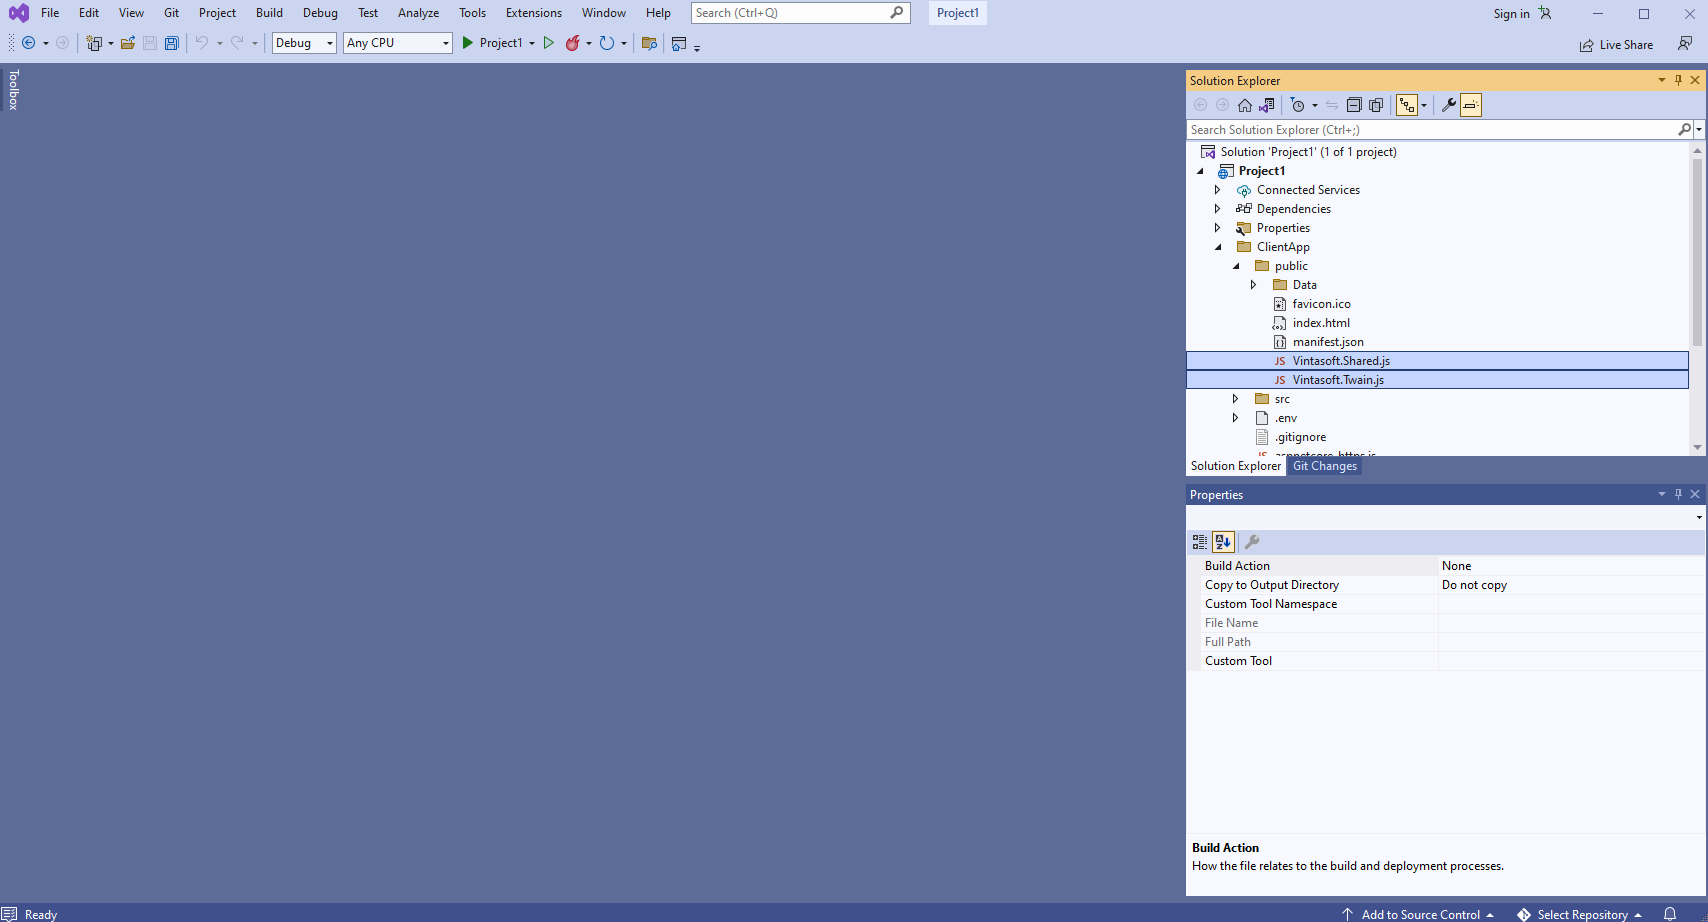
Get Vintasoft.Shared.js and Vintasoft.Twain.js files from "<SDK_install_path>\Bin\JavaScript\" folder of VintaSoft TWAIN .NET SDK installation or from npm-package 'vintasoft-web-twain-js'. Copy Vintasoft JavaScript files to the "ClientApp\public\" folder.
-
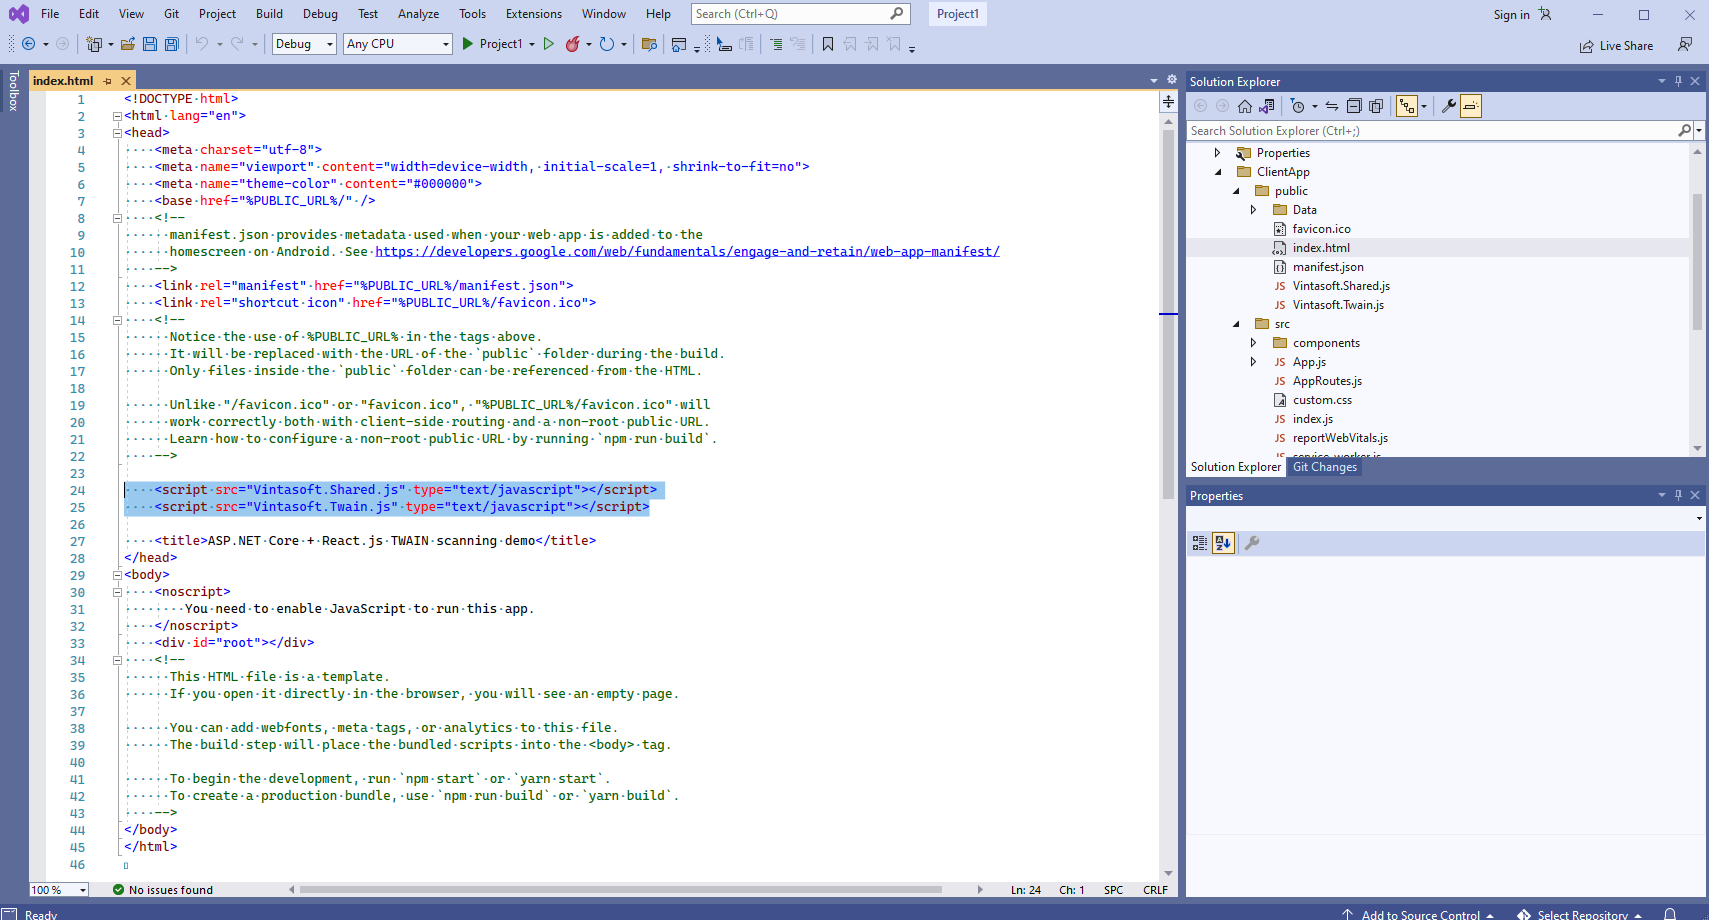
Add references to Vintasoft JavaScript files to the header of "ClientApp\public\index.html" file:
<!DOCTYPE html>
<html lang="en">
<head>
    <meta charset="utf-8">
    <meta name="viewport" content="width=device-width, initial-scale=1, shrink-to-fit=no">
    <meta name="theme-color" content="#000000">
    <base href="%PUBLIC_URL%/" />
    <!--
      manifest.json provides metadata used when your web app is added to the
      homescreen on Android. See https://developers.google.com/web/fundamentals/engage-and-retain/web-app-manifest/
-->
    <link rel="manifest" href="%PUBLIC_URL%/manifest.json">
    <link rel="shortcut icon" href="%PUBLIC_URL%/favicon.ico">
    <!--
      Notice the use of %PUBLIC_URL% in the tags above.
      It will be replaced with the URL of the `public` folder during the build.
      Only files inside the `public` folder can be referenced from the HTML.

      Unlike "/favicon.ico" or "favicon.ico", "%PUBLIC_URL%/favicon.ico" will
      work correctly both with client-side routing and a non-root public URL.
      Learn how to configure a non-root public URL by running `npm run build`.
-->

    <script src="Vintasoft.Shared.js" type="text/javascript"></script>
    <script src="Vintasoft.Twain.js" type="text/javascript"></script>

    <title>ASP.NET Core + React.js TWAIN scanning demo</title>
</head>
  <body>
    <noscript>
      You need to enable JavaScript to run this app.
    </noscript>
    <div id="root"></div>
    <!--
      This HTML file is a template.
      If you open it directly in the browser, you will see an empty page.

      You can add webfonts, meta tags, or analytics to this file.
      The build step will place the bundled scripts into the <body> tag.

      To begin the development, run `npm start` or `yarn start`.
      To create a production bundle, use `npm run build` or `yarn build`.
-->
  </body>
</html>
-
Client side: Create React.js component that acquires images from TWAIN scanner and displays the scanned images.
-
Create "TwainScanningDemo.js" file that will contain source codes of React.js component (TwainScanningDemo class):
- Select "Add => New Item..." context menu for folder "ClientApp\src\components\" => "Add new item" dialog will appear
- Select "JavaScript File" type for new item
- Set "TwainScanningDemo.js" as element name
- Click the "Add" button => dialog will be closed and file "TwainScanningDemo.js" will be added into folder "ClientApp\src\components\"
-
Add TwainScanningDemo class declaration with 'render' function (renders demo header and the image element that will display an image acquired from TWAIN scanner) to the "ClientApp\src\components\TwainScanningDemo.js" file:
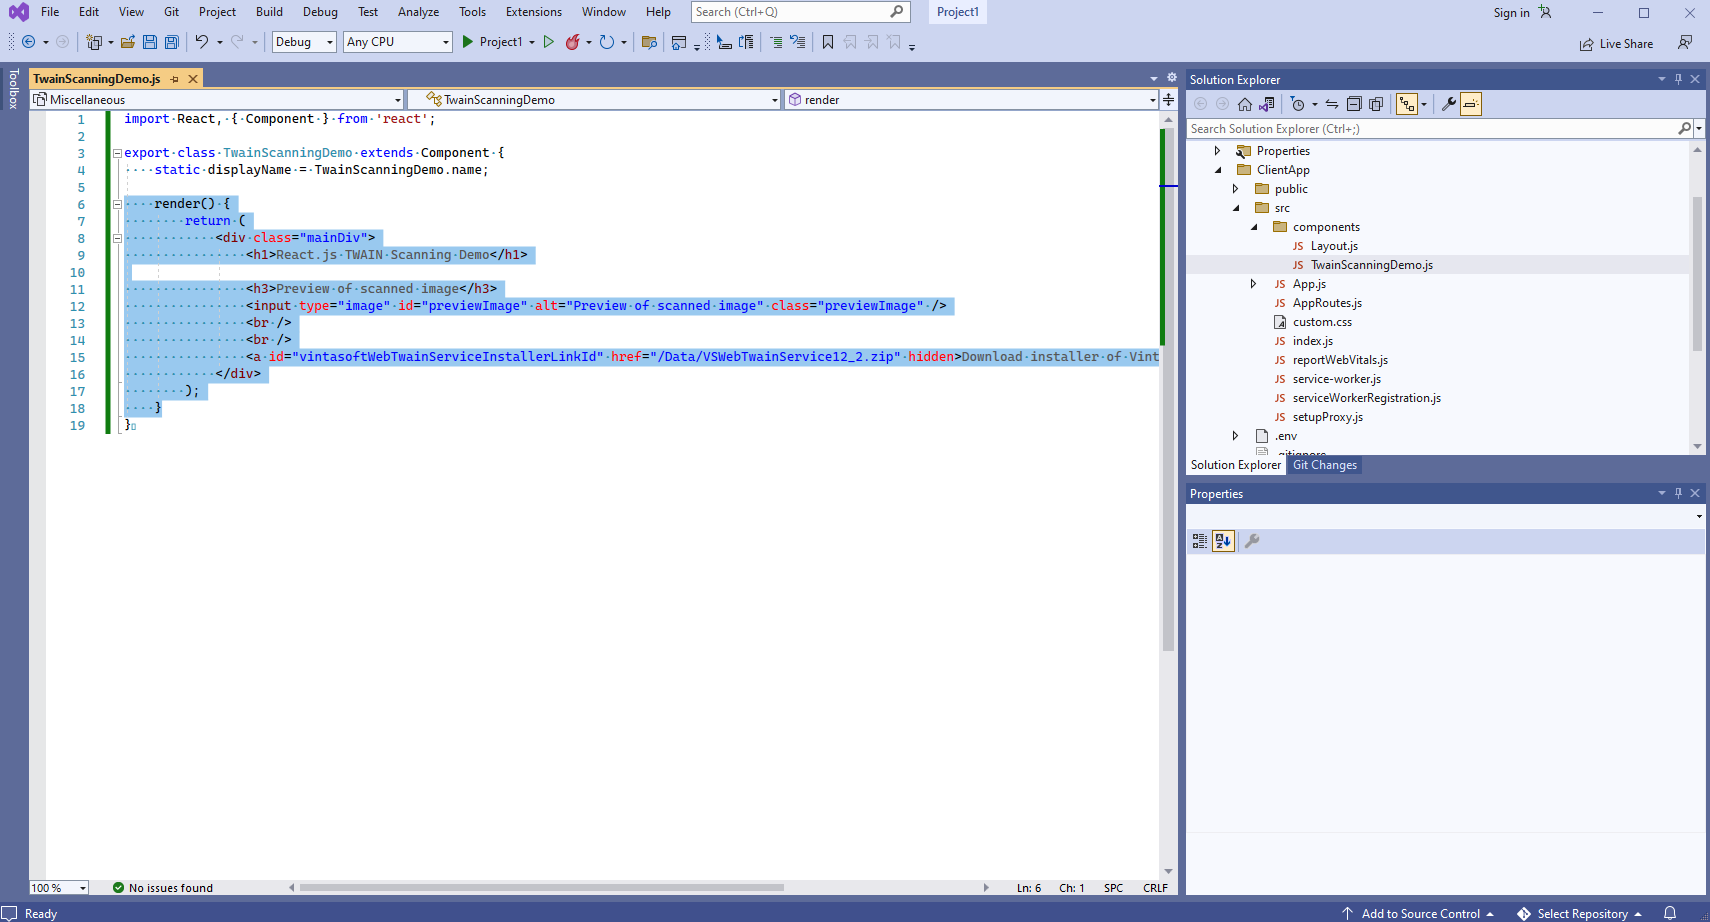
Here is JavaScript code of React.js component (TwainScanningDemo class) with 'render' function only:
import React, { Component } from 'react';

export class TwainScanningDemo extends Component {
    static displayName = TwainScanningDemo.name;

    render() {
        return (
            <div class="mainDiv">
                <h1>React.js TWAIN Scanning Demo</h1>

                <h3>Preview of scanned image</h3>
                <input type="image" id="previewImage" alt="Preview of scanned image" class="previewImage" />
                <br />
                <br />
                <a id="vintasoftWebTwainServiceInstallerLinkId" href="/Data/VintasoftWebTwainService-15.1.3.zip" hidden>Download installer of VintaSoft Web TWAIN service</a>
            </div>
        );
    }
}
-
Add CSS-classes, which are used in HTML markup of TwainScanningDemo, to the "ClientApp\src\custom.css" file:
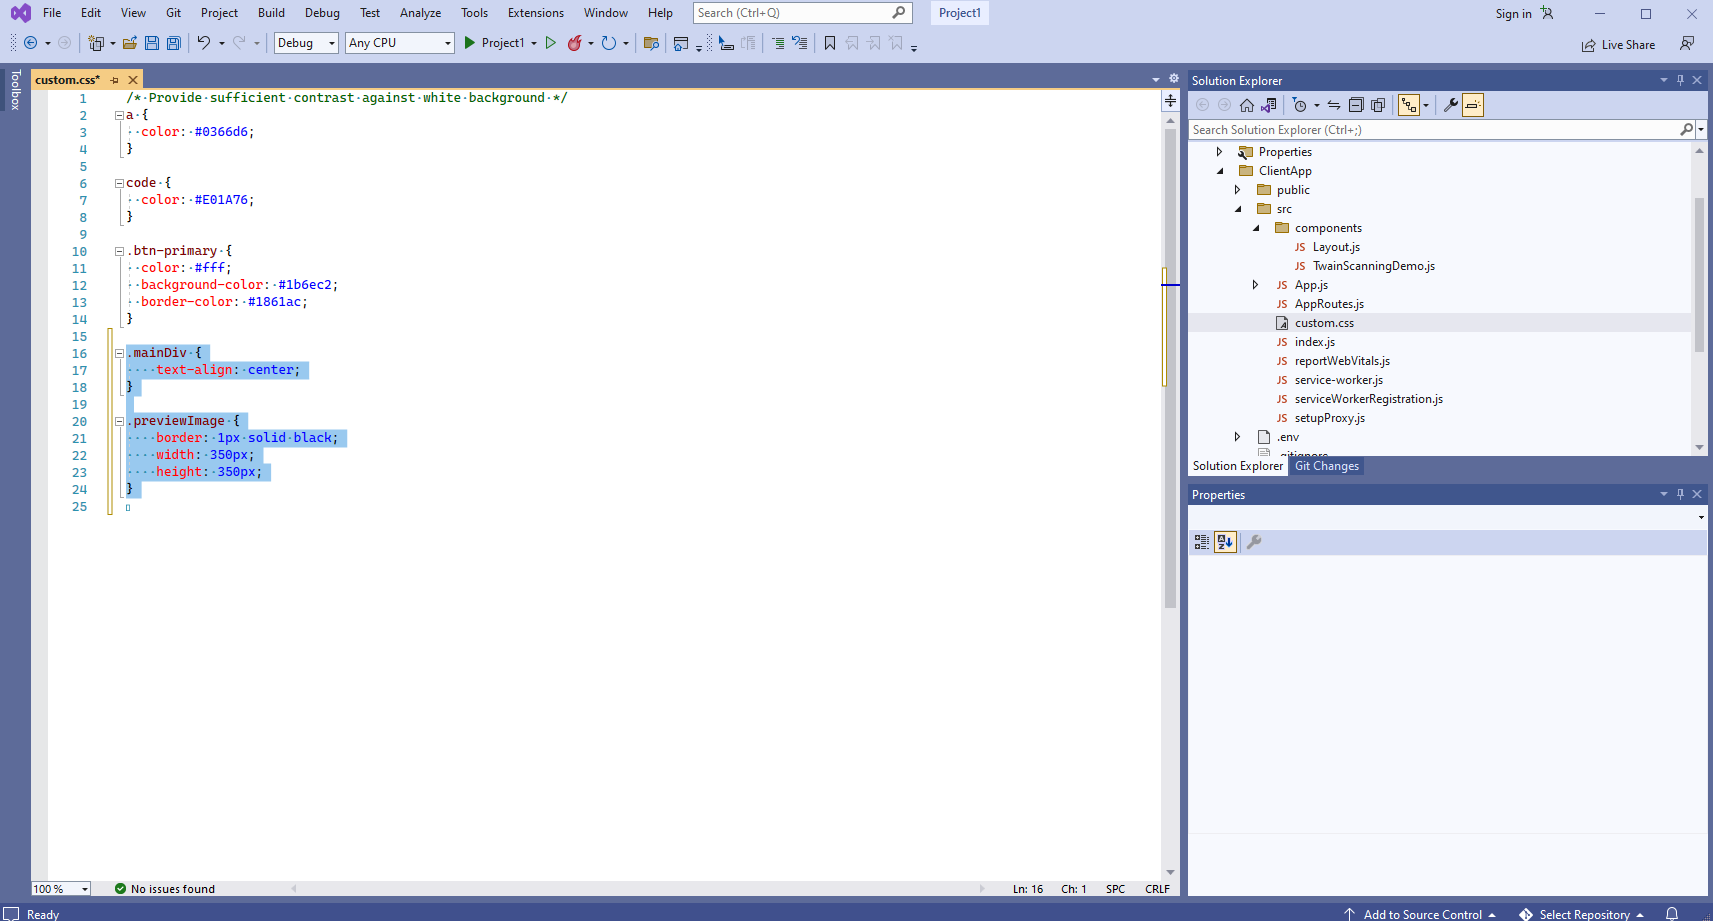
Here is CSS-code, which should be added to the "ClientApp\src\custom.css" file:
.mainDiv {
    text-align: center;
}

.previewImage {
    border: 1px solid black;
    width: 350px;
    height: 350px;
}
-
Add 'componentDidMount' function (contains JavaScript code that acquires an image from TWAIN scanner and displays the scanned image) to the TwainScanningDemo class:
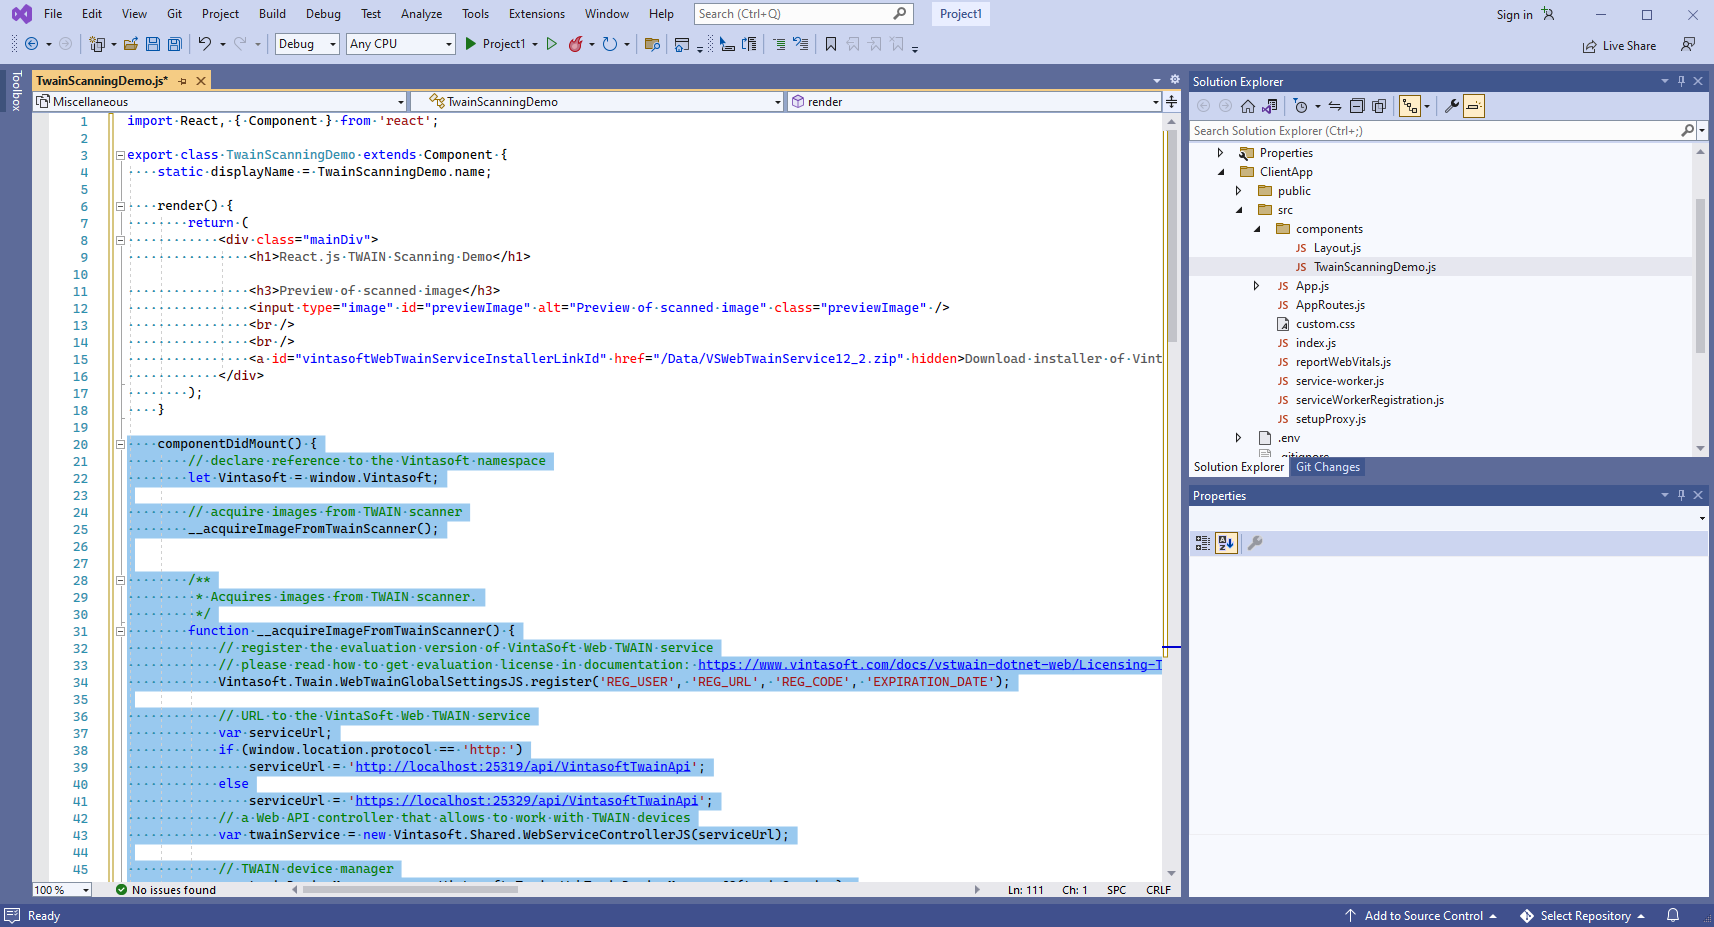
Here is full JavaScript code of React.js component (TwainScanningDemo class):
import React, { Component } from 'react';

export class TwainScanningDemo extends Component {
    static displayName = TwainScanningDemo.name;

    render() {
        return (
            <div class="mainDiv">
                <h1>React.js TWAIN Scanning Demo</h1>

                <h3>Preview of scanned image</h3>
                <input type="image" id="previewImage" alt="Preview of scanned image" class="previewImage" />
                <br />
                <br />
                <a id="vintasoftWebTwainServiceInstallerLinkId" href="/Data/VintasoftWebTwainService-15.1.3.zip" hidden>Download installer of VintaSoft Web TWAIN service</a>
            </div>
        );
    }

    componentDidMount() {
        // declare reference to the Vintasoft namespace
        let Vintasoft = window.Vintasoft;

        // acquire images from TWAIN/SANE scanner
        __acquireImageFromTwainScanner();


        /**
         * Acquires images from TWAIN/SANE scanner.
         */
        function __acquireImageFromTwainScanner() {
            // register the evaluation version of VintaSoft Web TWAIN service
            // please read how to get evaluation license in documentation: https://www.vintasoft.com/docs/vstwain-dotnet-web/Licensing-Twain_Web-Evaluation.html
            Vintasoft.Twain.WebTwainGlobalSettingsJS.register('REG_USER', 'REG_URL', 'REG_CODE', 'EXPIRATION_DATE');

            // URL to the VintaSoft Web TWAIN service
            var serviceUrl = 'https://localhost:25329/api/VintasoftTwainApi';
            // a Web API controller that allows to work with TWAIN and SANE devices
            var twainService = new Vintasoft.Shared.WebServiceControllerJS(serviceUrl);

            // TWAIN/SANE device manager
            var deviceManager = new Vintasoft.Twain.WebTwainDeviceManagerJS(twainService);

            // the default settings of device manager
            var deviceManagerInitSetting = new Vintasoft.Twain.WebTwainDeviceManagerInitSettingsJS();

            try {
                // open device manager
                deviceManager.open(deviceManagerInitSetting);
            }
            catch (ex) {
                if (ex.toString().startsWith('NetworkError')) {
                    document.getElementById('vintasoftWebTwainServiceInstallerLinkId').hidden = false;
                    alert("VintaSoft Web TWAIN service is not found.\n\nPlease close this dialog, link 'Download installer of VintaSoft Web TWAIN service' will appear at the top of this page, click the link, download VintaSoft Web TWAIN Service, manually install the service on your computer, reload this web page in web browser (Firefox must be restarted) and try to scan images once again.");
                }
                else
                    alert(ex);
                return;
            }

            var device = null;
            try {
                // get the default TWAIN/SANE device
                device = deviceManager.get_DefaultDevice();
                // open device without UI
                device.open(false);

                // a collection that stores images, which are acquired from TWAIN/SANE devices and stored in memory of VintaSoft Web TWAIN service
                var acquiredImages = new Vintasoft.Twain.WebAcquiredImageCollectionJS(deviceManager);
                var acquireModalState;
                do {
                    // do one step of modal image acquisition process
                    var acquireModalResult = device.acquireModalSync();
                    // get state of image acquisition
                    acquireModalState = acquireModalResult.get_AcquireModalState().valueOf();

                    switch (acquireModalState) {
                        case 2:   // image is acquired
                            // get acquired image
                            var acquiredImage = acquireModalResult.get_AcquiredImage();
                            // add acquired image to the image collection
                            acquiredImages.add(acquiredImage);

                            // get image as Base64 string
                            var bitmapAsBase64String = acquiredImage.getAsBase64String();
                            // update image preview
                            var previewImageElement = document.getElementById('previewImage');
                            previewImageElement.src = bitmapAsBase64String;

                            // clear image collection (delete images from memory of VintaSoft Web TWAIN service) because image is not necessary anymore
                            acquiredImages.clear();
                            break;

                        case 4:   // image scan is failed
                            alert(acquireModalResult.get_ErrorMessage());
                            break;

                        case 9:   // image scan is finished
                            break;
                    }
                }
                while (acquireModalState !== 0);
            }
            catch (ex) {
                alert(ex);
            }
            finally {
                if (device != null) {
                    // close the device
                    device.close();
                }
                // close the device manager
                deviceManager.close();
            }
        }
    }

}
-
Add the created React.js component to the React.js application code - "ClientApp/src/AppRoutes.js" file.
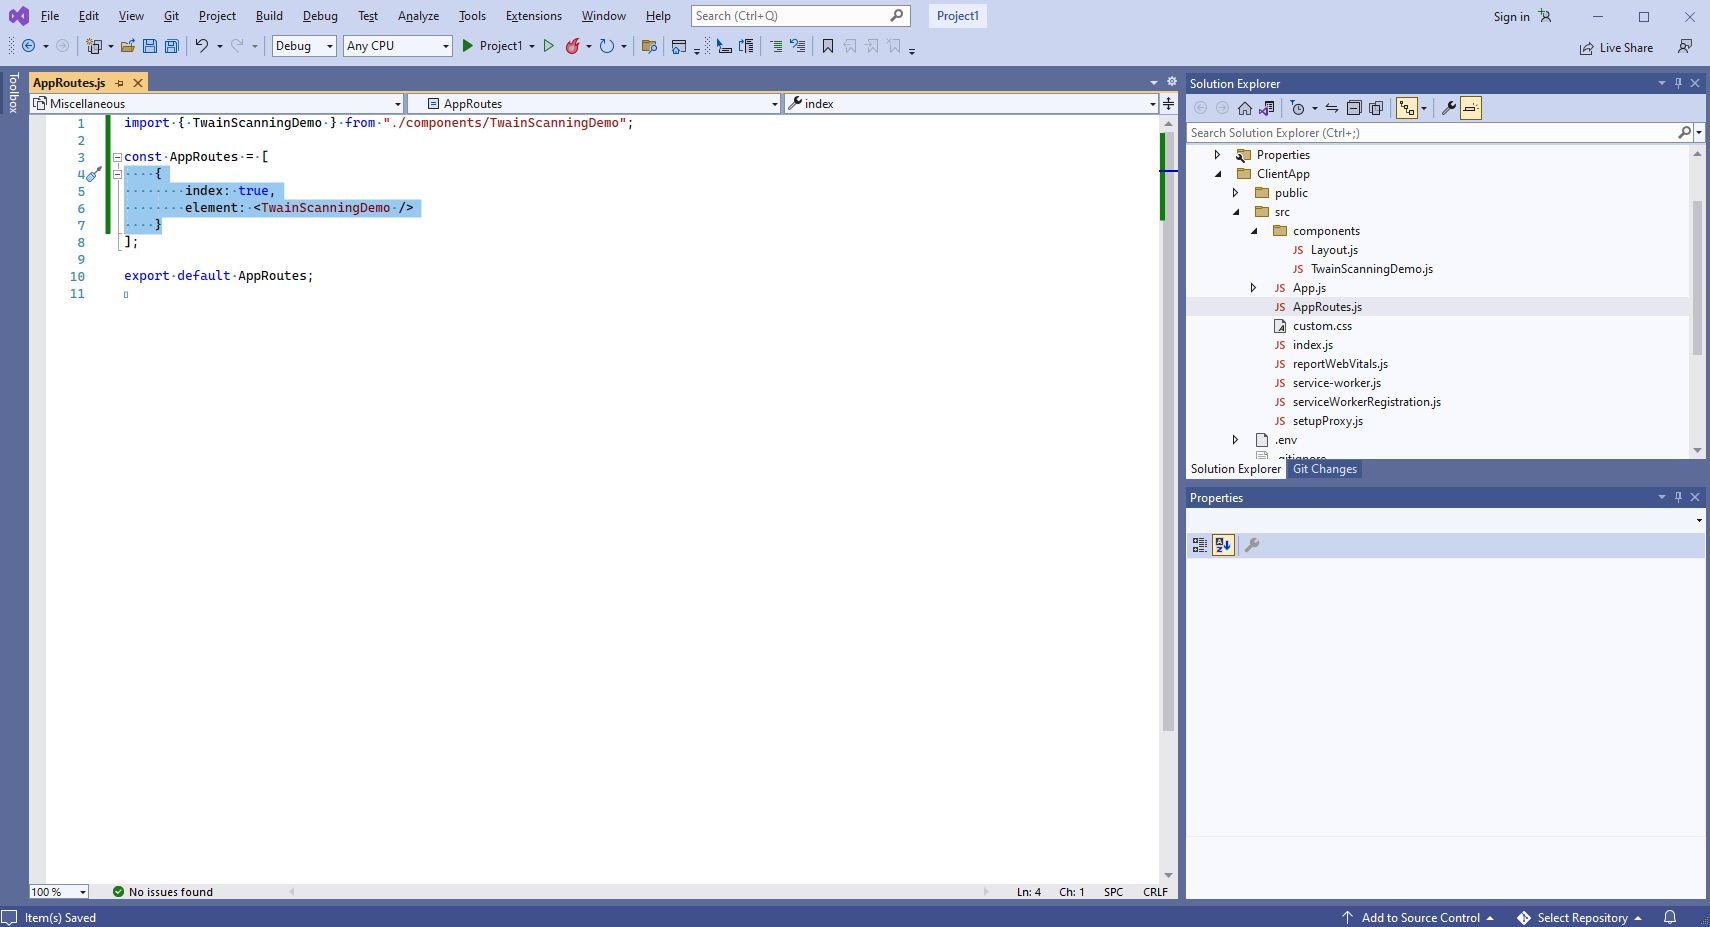
Here are source codes of "App.js" file after update:
import React, { Component } from 'react';
import { Route } from 'react-router';
import { Layout } from './components/Layout';
import { TwainScanningDemo } from './components/TwainScanningDemo';

import './custom.css'

export default class App extends Component {
    static displayName = App.name;

    render() {
        return (
            <Layout>
                <Route exact path='/' component={TwainScanningDemo} />
            </Layout>
        );
    }
}
-
Run the ASP.NET Core Web application with React.js and see the result.
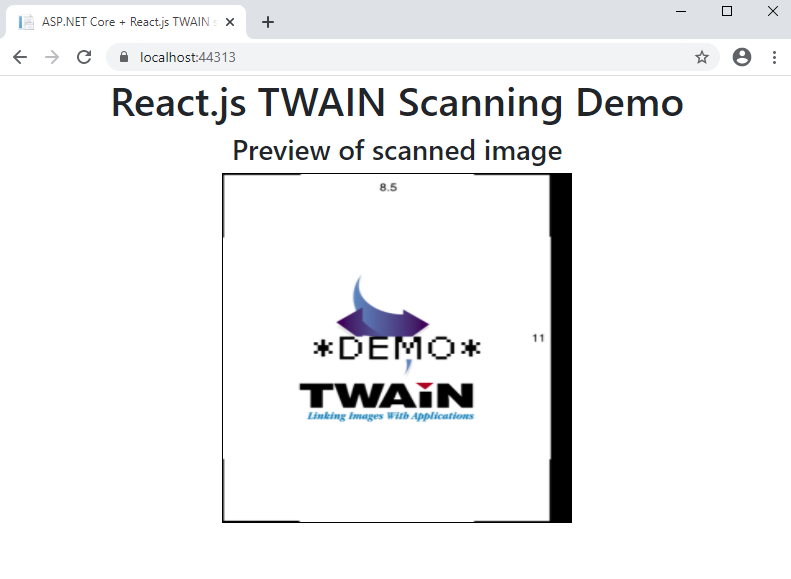
If VintaSoft Web TWAIN service is not installed on your computer (you see an alert with error message), you should do the following steps:
- click the "Download installer of VintaSoft Web TWAIN service" link
- download the installer of VintaSoft Web TWAIN service to your computer
- install the VintaSoft Web TWAIN service to your computer
- reload the application page in web browser


